 Save
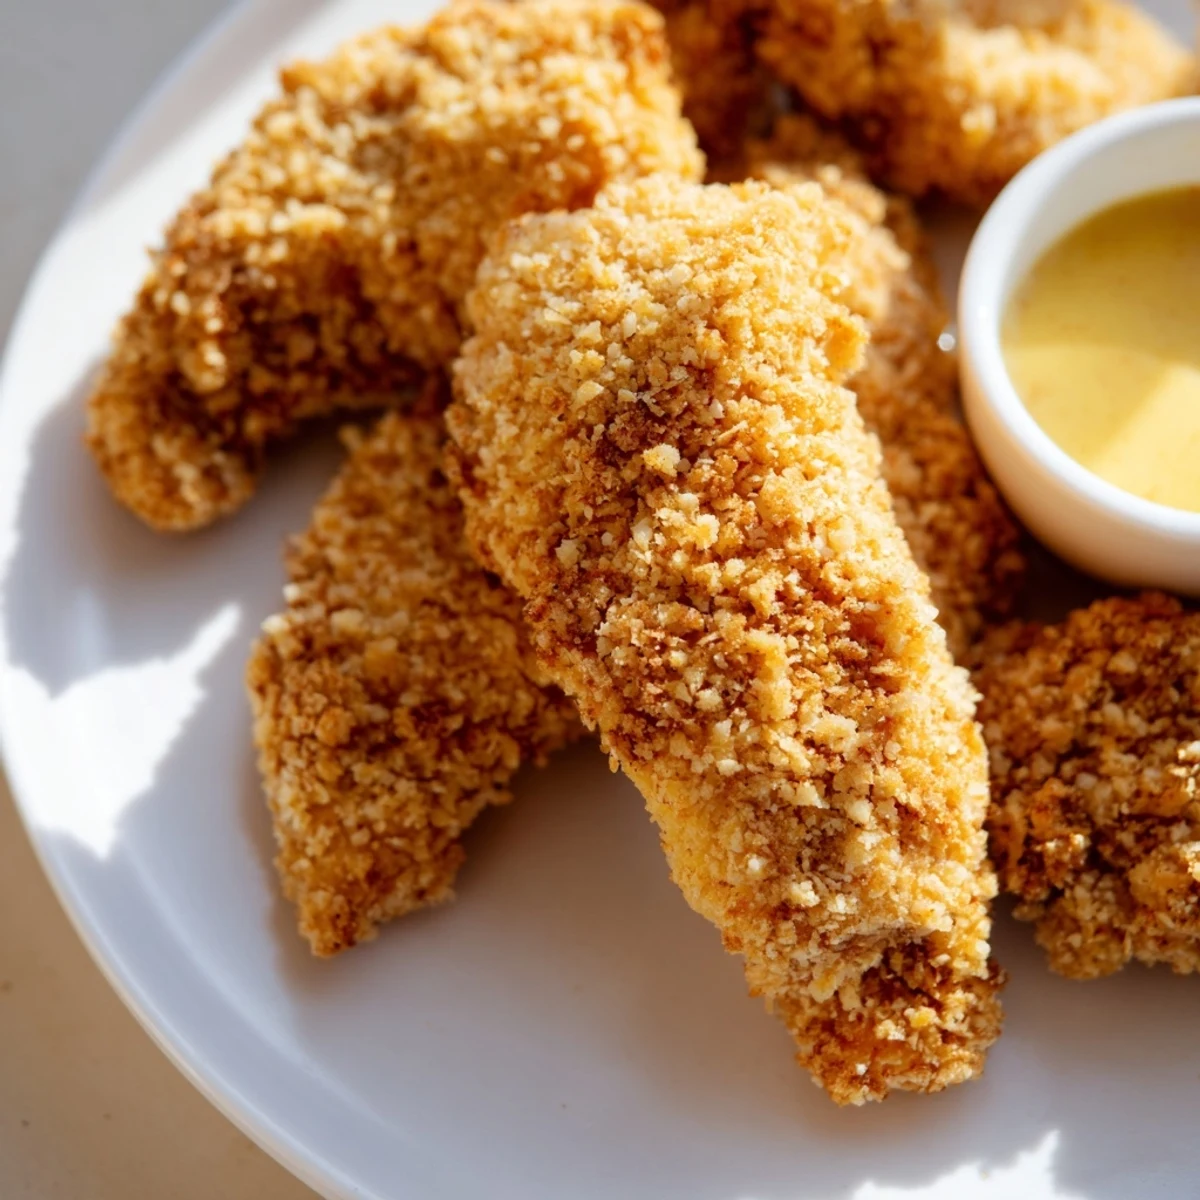
Save Transform chicken breast into irresistibly crispy tenders using a panko and breadcrumb coating, then bake until golden. The secret to maximum crunch is drizzling olive oil before baking and turning halfway through. Pair with an easy homemade honey mustard sauce that combines Dijon mustard, honey, and mayo for the perfect sweet and tangy dipping companion.
The afternoon my nephew declared he would only eat dinosaur-shaped food changed our family dinners forever. I remembered the crispy chicken strips my mom used to make and thought, with the right pitch, these might pass his prehistoric test. Standing in my kitchen, slicing chicken breasts while he watched skeptically from his booster seat, I solemnly promised these would be raptor claws once cooked.
Last summer during a backyard gathering, my friend Lisa watched me prep these tenders and confessed shed never made homemade chicken strips before. The look on her face when she bit into that first golden tender was priceless. She called me three days later to say shed already made them twice more for her kids, who were now requesting the honey mustard sauce on everything.
Ingredients
- Chicken Breast Tenders: I prefer using whole chicken breasts cut into strips because you can control the size, and Ive found they stay juicier than pre-cut tenders.
- Panko Breadcrumbs: The secret to that restaurant-style crunch without frying, these Japanese breadcrumbs create air pockets that become wonderfully crispy in the oven.
- Smoked Paprika: After trying countless spice combinations, this was the game-changer that gives these tenders a subtle smoky depth that even picky eaters appreciate.
- Olive Oil Drizzle: Dont skip this step, as it helps the breadcrumbs transform into that beautiful golden crust we all crave.
- Dijon Mustard: I once tried to substitute yellow mustard in a pinch and learned the hard way that Dijon provides that distinctive tangy complexity the sauce needs.
Instructions
- Prep Your Chicken:
- Pat those chicken pieces completely dry with paper towels, otherwise your seasoning wont stick properly. I like to season the raw chicken directly rather than the flour, as I find it distributes the flavors more evenly throughout the meat.
- Create Your Dipping Station:
- Arrange your three shallow bowls in a line from left to right: flour, egg wash, then breadcrumb mixture. This assembly line approach keeps one hand dry and one hand wet to avoid the dreaded breadcrumb clumps on your fingers.
- Master The Coating Technique:
- Use tongs to dredge each piece through flour, then let excess egg drip off before pressing firmly into the breadcrumbs. I gently press the breadcrumbs onto each tender to ensure maximum crunch coverage.
- Arrange For Airflow:
- Leave a little space between each tender on the baking sheet, as crowding leads to steaming instead of crisping. That half-inch gap makes all the difference between soggy and spectacular.
- Apply The Oil Finish:
- A light, even drizzle or spray of olive oil is your secret weapon for that deep-fried look. Watch as the oil transforms those breadcrumbs into a gorgeous golden crust that practically audibly crunches.
- Perfect The Flip:
- When flipping halfway through, use a thin spatula to get underneath without disturbing the coating. That gentle touch preserves all your hard work building that perfect crust.
- Check For Doneness:
- Look for golden brown edges and use a meat thermometer if youre uncertain. At 165°F, chicken is both safe and still juicy, that perfect sweet spot we all aim for.
- Whisk The Sauce:
- Mix your honey mustard ingredients vigorously until completely smooth and unified. The sauce should coat the back of a spoon in a thin, even layer with no separation.
 Save
Save I still remember my daughters birthday when we were broke and I couldnt afford to take everyone out to her favorite restaurant. Instead, I made these tenders with a little sign reading fancy restaurant, and the kids thought it was hilarious to pretend they were dining out. Years later, shes in college and still requests these tenders when she visits, saying they taste like celebration to her.
Make-Ahead Options
One Tuesday evening after working late, I discovered you can prep these tenders completely and refrigerate them uncooked for up to 8 hours before baking. The coating actually gets even crispier this way, almost like a dry brine for the breadcrumbs. Just make sure to bring them to room temperature for about 15 minutes before baking to ensure even cooking.
Serving Suggestions
When my in-laws unexpectedly stayed for dinner, I turned these simple tenders into an impressive spread by slicing them on the diagonal and arranging them over a fresh green salad with sliced avocado and cherry tomatoes. The contrast of hot crispy chicken with cool creamy avocado and bright tomatoes made it seem like a deliberate gourmet meal rather than my weeknight standby. Nobody suspected Id planned to eat them straight from the baking sheet while watching TV.
Troubleshooting Tips
After countless batches, Ive encountered nearly every possible chicken tender mishap. That time I baked them on a crowded sheet and ended up with pale, sad tenders taught me that proper spacing is non-negotiable. Another revelation came when I started checking the internal temperature rather than cutting into a tender and letting all those precious juices escape.
- If your breadcrumb coating falls off during baking, you likely didnt pat the chicken dry enough at the beginning.
- For extra insurance against sogginess, place a wire rack on your baking sheet and bake the tenders elevated.
- Let the baked tenders rest for 3-5 minutes before serving to allow juices to redistribute throughout the meat.
 Save
Save These crispy baked tenders have been with me through first dates and family gatherings, weeknight dinners and weekend celebrations. There's something reassuring about a recipe that bridges the gap between what kids will happily eat and what adults secretly crave.
Recipe FAQs
- → How do I achieve extra crispiness on baked chicken tenders?
-
The key is using a combination of panko and regular breadcrumbs for texture, then drizzling or spraying olive oil generously over the coated tenders before baking. You can also use all panko breadcrumbs for an even crunchier exterior.
- → Can I prepare the chicken tenders in advance?
-
Yes, you can coat the chicken strips and refrigerate them on the baking sheet for up to 4 hours before baking. This actually helps the coating adhere better and creates a crispier finish when baked.
- → What temperature should the chicken reach when cooked?
-
The internal temperature must reach 74°C (165°F) to ensure the chicken is safely cooked through. Use a meat thermometer inserted into the thickest part to verify doneness.
- → How can I make the honey mustard sauce lighter?
-
Substitute Greek yogurt for the mayonnaise to reduce fat content while maintaining creaminess. You can also use low-fat mayo or add a bit more lemon juice for extra tang.
- → What are good serving suggestions?
-
Serve alongside crispy fries, fresh salad, roasted vegetables, or coleslaw. The tender chicken and honey mustard sauce pair well with almost any side dish for a complete meal.
- → Can I add spice to the coating?
-
Absolutely. Mix cayenne pepper or chili powder into the breadcrumb mixture for heat, or add smoked paprika for a deeper flavor. Adjust quantities to your preferred spice level.