 Save
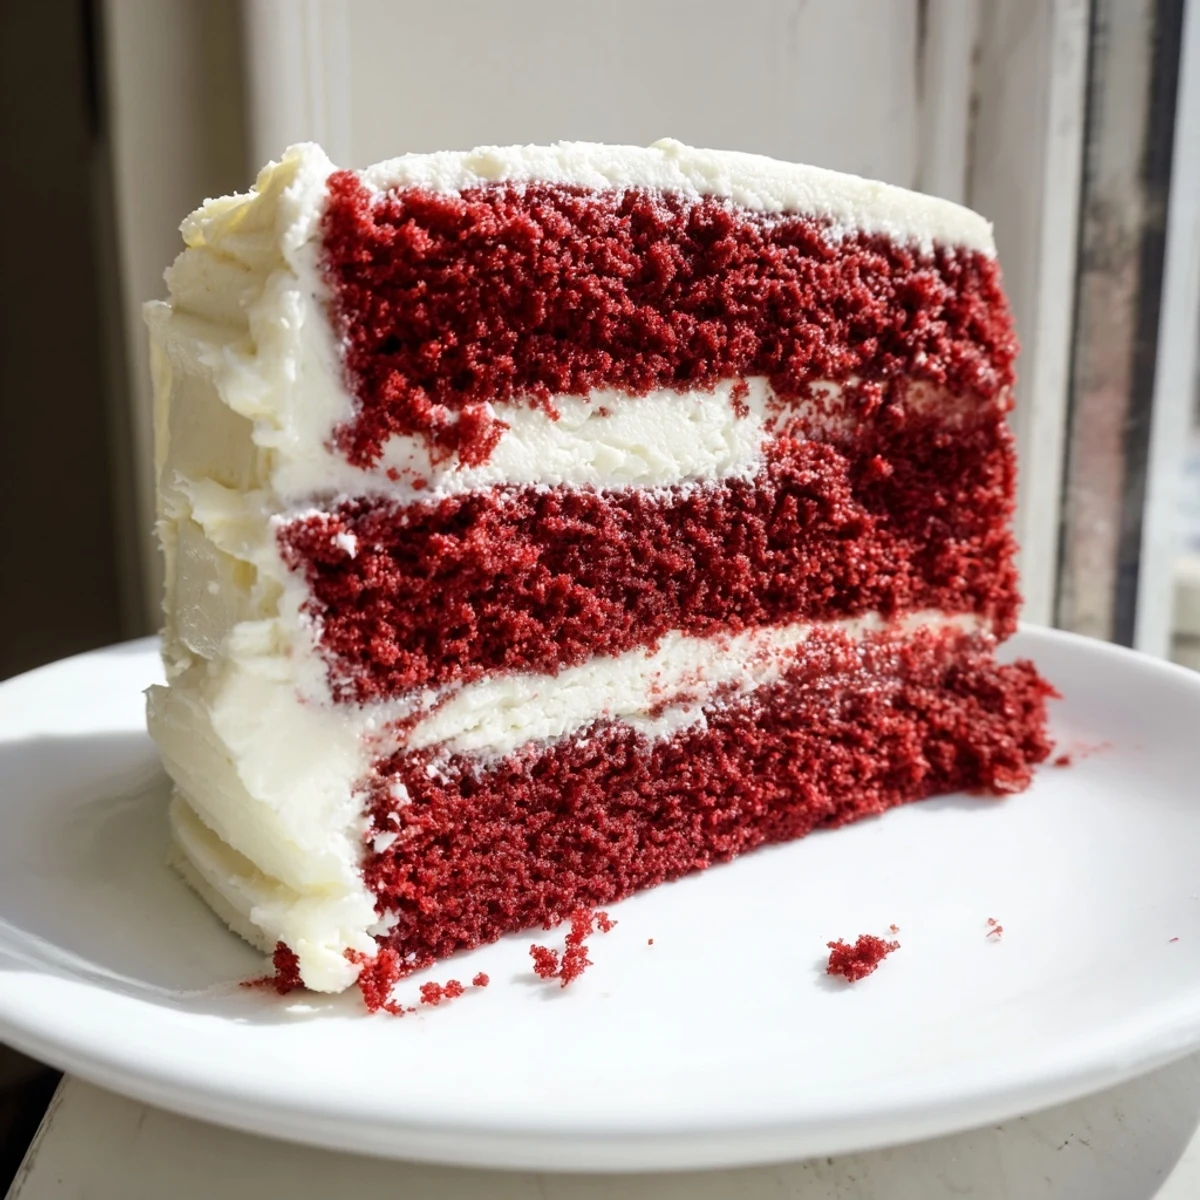
Save This red velvet layer cake offers a moist, tender crumb enriched with cocoa and a hint of vinegar for balance. Layers are generously filled and topped with a smooth, creamy cream cheese frosting, providing rich sweetness and tang. From mixing to baking, the process is designed to ensure a light texture, perfect for celebrations. Simple decorations and chilling enhance the dessert’s presentation and flavor depth, making it a crowd-pleasing centerpiece.
My apartment neighbor knocked on my door with a nervous smile and a bottle of red food coloring. She was attempting her wedding cake and needed someone to taste-test, and somehow I became her red velvet consultant. We made three cakes that weekend, each more vibrant than the last, until we found that perfect balance between chocolate tang and cream cheese sweetness.
I made this cake for my daughters sixth birthday, and she still talks about the year her cake looked like a giant red crown. The best moment was watching her lick the cream cheese frosting off the beaters while trying to convince me she was helping.
Ingredients
- All-purpose flour: Provides structure while keeping the crumb tender and delicate
- Granulated sugar: Sweetens the cake while helping create that signature velvety texture
- Baking soda: Reacts with the vinegar and buttermilk for the perfect rise
- Fine salt: Balances the sweetness and enhances the chocolate notes
- Cocoa powder: Adds just enough chocolate flavor without overpowering the classic red velvet taste
- Vegetable oil: Keeps the cake incredibly moist and tender for days
- Buttermilk: Creates tanginess and tenderness, plus activates the baking soda
- Large eggs: Bind everything together while adding richness and structure
- Red food coloring: Gives that iconic crimson color we all expect from red velvet
- Vanilla extract: Rounds out both the cake and frosting flavors beautifully
- White vinegar: Enhances the red color and reacts with baking soda for lift
- Cream cheese: The star of the frosting, providing tang and luxurious texture
- Unsalted butter: Adds richness and helps the frosting hold its shape
- Powdered sugar: Sweetens and thickens the frosting to spreadable perfection
Instructions
- Prep your pans and preheat:
- Get your oven to 350°F (175°C) and grease two 9-inch round cake pans. Line the bottoms with parchment paper so your cakes release perfectly every time.
- Whisk the dry ingredients:
- In a large bowl, combine flour, sugar, baking soda, salt, and cocoa powder. Whisk them together thoroughly so everything is evenly distributed before you add any wet ingredients.
- Mix the wet ingredients:
- In a separate bowl, whisk together the oil, buttermilk, eggs, food coloring, vanilla, and vinegar. Keep whisking until the mixture is completely smooth and uniform in color.
- Combine the two mixtures:
- Pour the wet ingredients into the dry ingredients and mix gently until just combined. Stop as soon as you no longer see dry flour, because overmixing will make your cake tough instead of tender.
- Divide and bake:
- Pour the batter evenly between your prepared pans. Bake for 28 to 32 minutes, checking for doneness when a toothpick inserted in the center comes out clean.
- Cool the cakes:
- Let the cakes rest in their pans for 10 minutes, then carefully turn them out onto a wire rack. They must cool completely before frosting or your cream cheese will melt right off.
- Make the frosting:
- Beat the cream cheese and butter until completely smooth and no lumps remain. Gradually add the powdered sugar, vanilla, and salt, beating until fluffy and spreadable.
- Frost the cake:
- Place one cooled layer on your serving plate and spread a generous layer of frosting. Top with the second layer, then frost the top and sides. Chill for at least 30 minutes before slicing for clean, beautiful pieces.
 Save
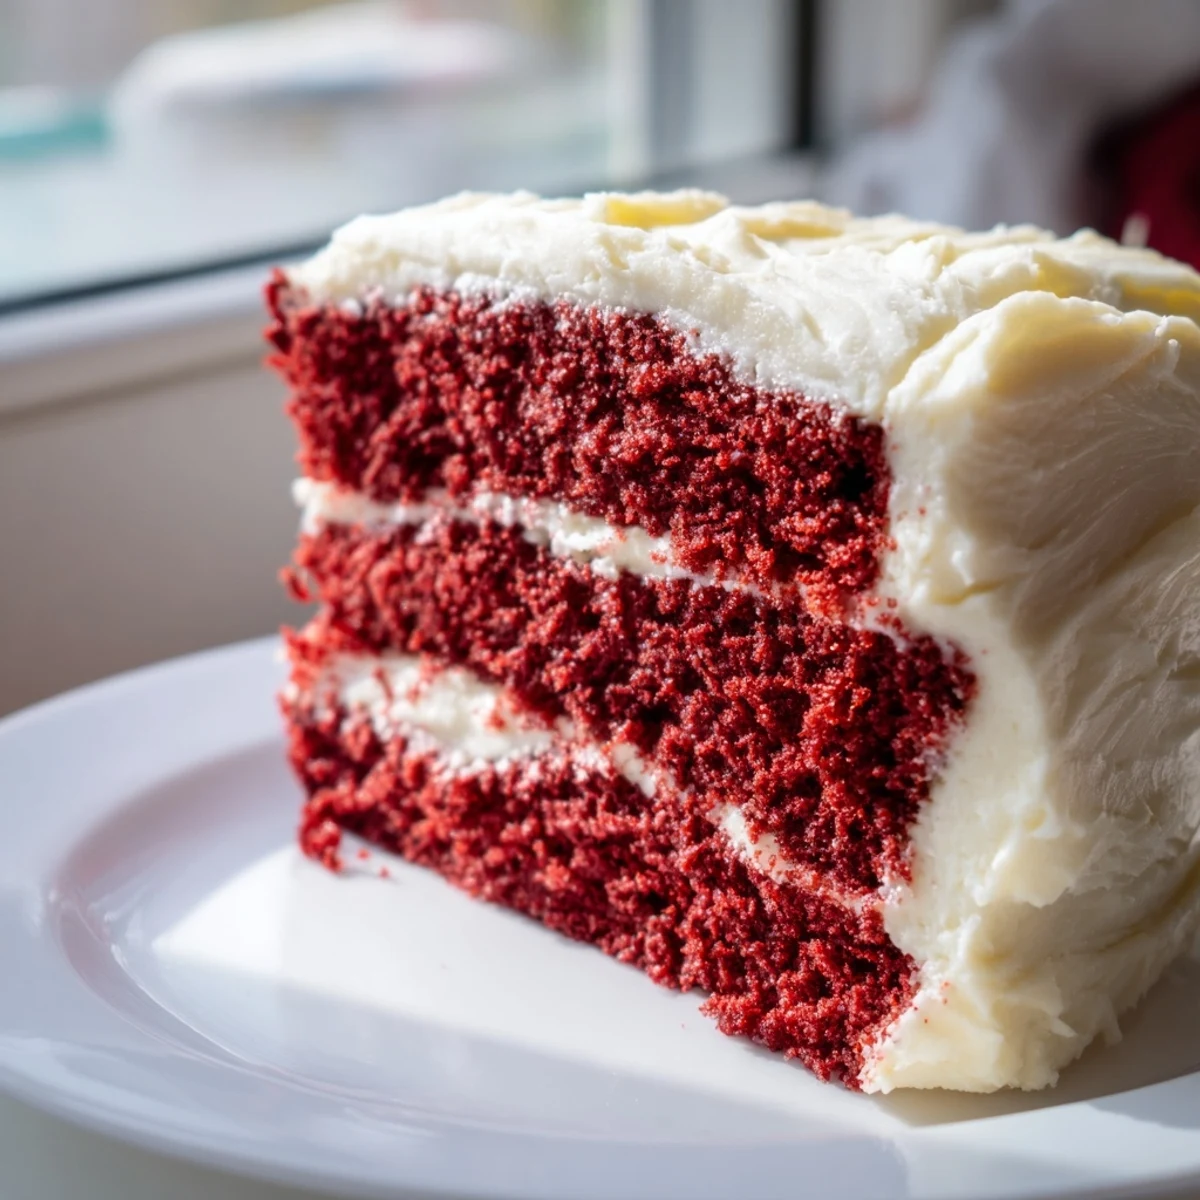
Save This cake became my go-to for every celebration after my sister requested it for her graduation. Seeing her face light up when she saw those red layers against the white frosting made all the stirring and waiting worth it.
Getting The Perfect Red Color
The red food coloring might feel excessive, but it is necessary for that dramatic red velvet hue we all recognize. I have tried natural alternatives and they simply do not deliver that same wow factor when you slice into the cake.
Frosting Like A Pro
Chill your frosted cake for at least 30 minutes before slicing. This simple step creates cleaner cuts and prevents the frosting from sticking to your knife. An offset palette knife makes smoothing the sides much easier than a regular spatula.
Making It Ahead
The unfrosted cake layers freeze beautifully for up to a month if wrapped tightly in plastic and foil. Thaw them overnight in the refrigerator before frosting. You can also frost the entire cake a day ahead and keep it chilled.
- Bring refrigerated cake to room temperature 30 minutes before serving
- Add fresh decorations right before serving for the best presentation
- Leftovers stay fresh in the refrigerator for up to five days
 Save
Save There is something magical about cutting into that red velvet and seeing those perfect layers. Hope this recipe brings as many celebrations to your table as it has to mine.
Recipe FAQs
- → What gives red velvet cake its unique color?
-
The vibrant red hue comes from red food coloring combined with cocoa powder, which also adds a subtle chocolate flavor.
- → How can I ensure a moist texture in this cake?
-
Using buttermilk and vegetable oil helps retain moisture, while careful mixing prevents overworking the batter for a tender crumb.
- → What is the purpose of vinegar in the batter?
-
Vinegar reacts with baking soda to help the cake rise and also accentuates the cake’s tangy flavor, enhancing the overall taste.
- → How should I frost the layers evenly?
-
Spread a generous amount of cream cheese frosting between cooled cake layers using an offset spatula for smooth, even coverage.
- → Can I prepare this cake ahead of time?
-
Yes, chilling the frosted cake for at least 30 minutes improves flavor melding and makes slicing cleaner.