 Save
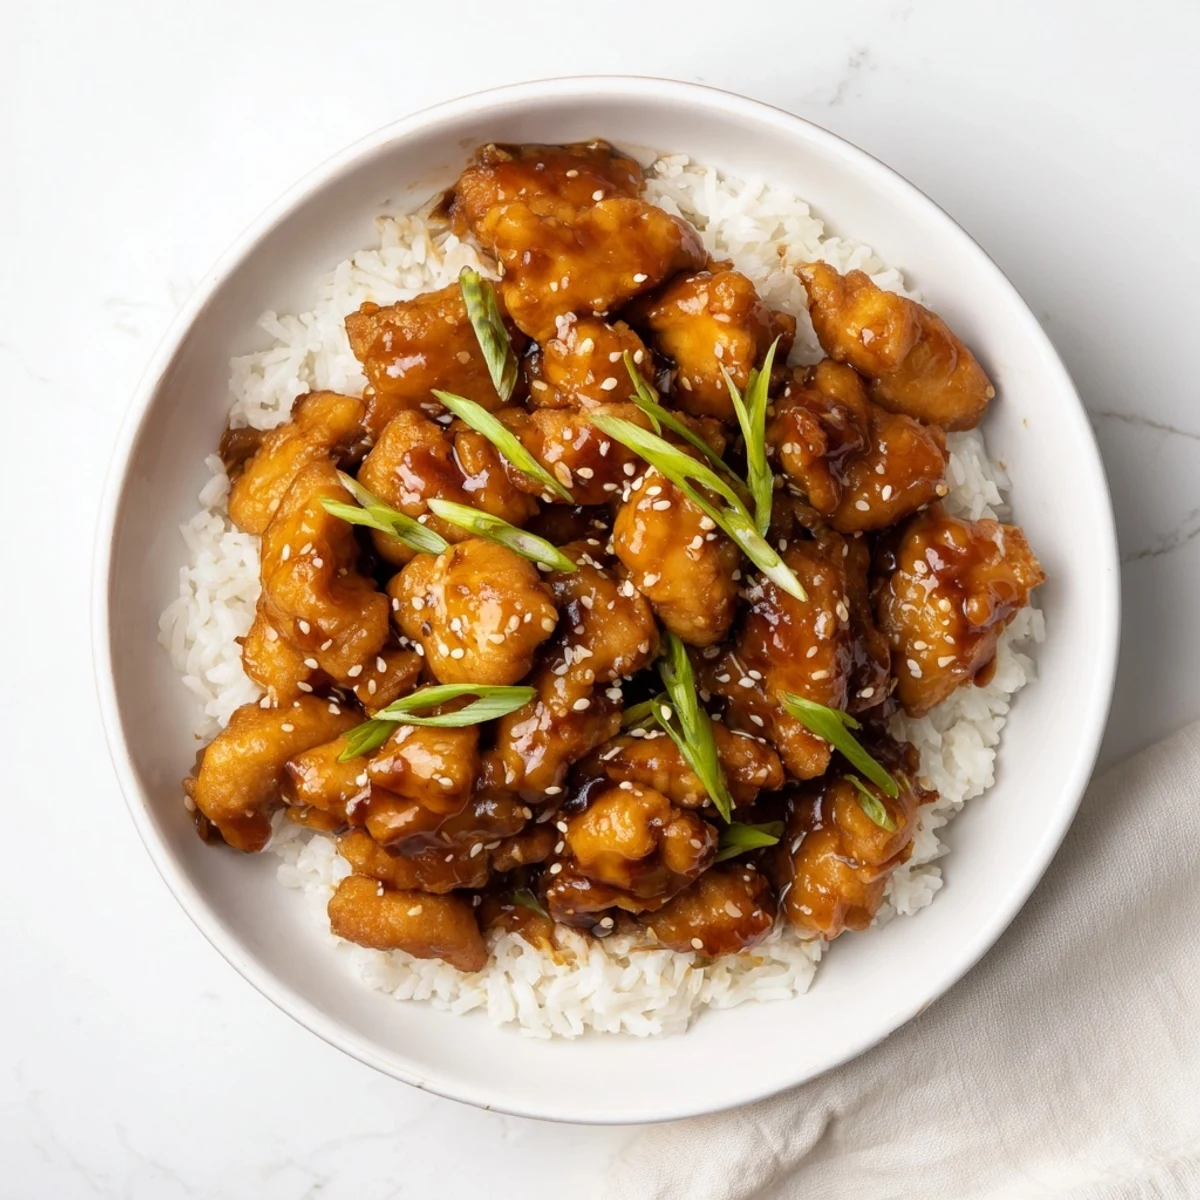
Save This beloved Asian-inspired dish brings together perfectly crispy chicken pieces with a glossy, clingy sauce that balances sweet brown sugar with savory soy sauce. Fresh ginger and garlic add aromatic depth, while hoisin and rice vinegar create complex layers of flavor.
The preparation involves coating chicken thighs in cornstarch for that coveted crunch, then pan-frying until golden. The sauce comes together quickly in the same skillet, making cleanup a breeze. The entire process takes just 45 minutes from start to finish.
Serve over steamed white rice and garnish with bright green onions and nutty sesame seeds for a complete meal that tastes like takeout but feels homemade.
The first time I made Mongolian Chicken, my kitchen filled with this incredible aroma of ginger and caramelizing sugar that had my roommates wandering in from every corner of the apartment. I'd been attempting to recreate a dish from our favorite takeout spot, and while my version wasn't identical, that sticky, glossy sauce coating perfectly crispy chicken became an instant household legend.
Last winter, when my sister was recovering from surgery and needed comfort food that wasn't heavy, this became her twice-weekly request. Something about the ginger and garlic together just feels like a warm hug, and the way the sauce thickens and clings to each piece makes you feel like you're eating restaurant food without leaving your pajamas.
Ingredients
- 900 g boneless skinless chicken thighs: Thighs stay juicier than breasts through the high-heat cooking and have more flavor depth
- 2 tablespoons cornstarch: This creates that light, crispy coating that holds onto the sauce beautifully
- 1/2 teaspoon salt: Just enough to enhance the chicken's natural flavor without competing with the sauce
- 1/4 teaspoon black pepper: Adds a subtle warmth that balances the sweet elements
- 2 tablespoons vegetable oil: High smoke point makes it ideal for getting that golden sear
- 120 ml low-sodium soy sauce: Using low-sodium lets you control the salt level while getting that deep umami
- 100 g brown sugar: Creates that signature caramelized glaze and beautiful gloss
- 60 ml water: Thins the sauce just enough so it coats instead of clumping
- 1 tablespoon hoisin sauce: Adds a fermented sweetness that makes the sauce taste complex and authentic
- 1 tablespoon rice vinegar: Cuts through the sugar and adds a bright tang
- 2 teaspoons sesame oil: A little goes a long way to add that nutty finish
- 2 tablespoons fresh ginger: Fresh is non-negotiable here, it brings a spicy warmth that ground ginger can't match
- 4 garlic cloves: Minced fine so it melts into the sauce rather than burning
- 1 teaspoon red chili flakes: Optional, but that gentle heat makes all the flavors pop
- 4 green onions: Fresh finish and a pop of color against the glossy sauce
- 2 tablespoons toasted sesame seeds: Add a nutty crunch that takes each bite to the next level
Instructions
- Coat the chicken:
- In a large bowl, toss the chicken pieces with cornstarch, salt, and pepper until every piece is evenly dusted
- Crisp the chicken:
- Heat vegetable oil in a large skillet or wok over medium-high heat, add chicken in batches, and cook until golden brown and crisp on all sides, about 6 to 8 minutes, then remove to a plate
- Mix the sauce base:
- Whisk together soy sauce, brown sugar, water, hoisin sauce, rice vinegar, and sesame oil in a medium bowl until the sugar dissolves
- Bloom the aromatics:
- In the same skillet, sauté ginger and garlic for 1 minute until fragrant, watching carefully so they don't burn
- Build the sauce:
- Pour in the prepared sauce and bring to a simmer over medium heat, cooking for 2 to 3 minutes while stirring frequently until slightly thickened
- Combine and coat:
- Add the cooked chicken back into the skillet and toss to coat evenly, sprinkling in red chili flakes if you want some heat
- Finish together:
- Simmer for 2 to 3 minutes longer until the sauce clings to the chicken and everything is heated through
- Plate and garnish:
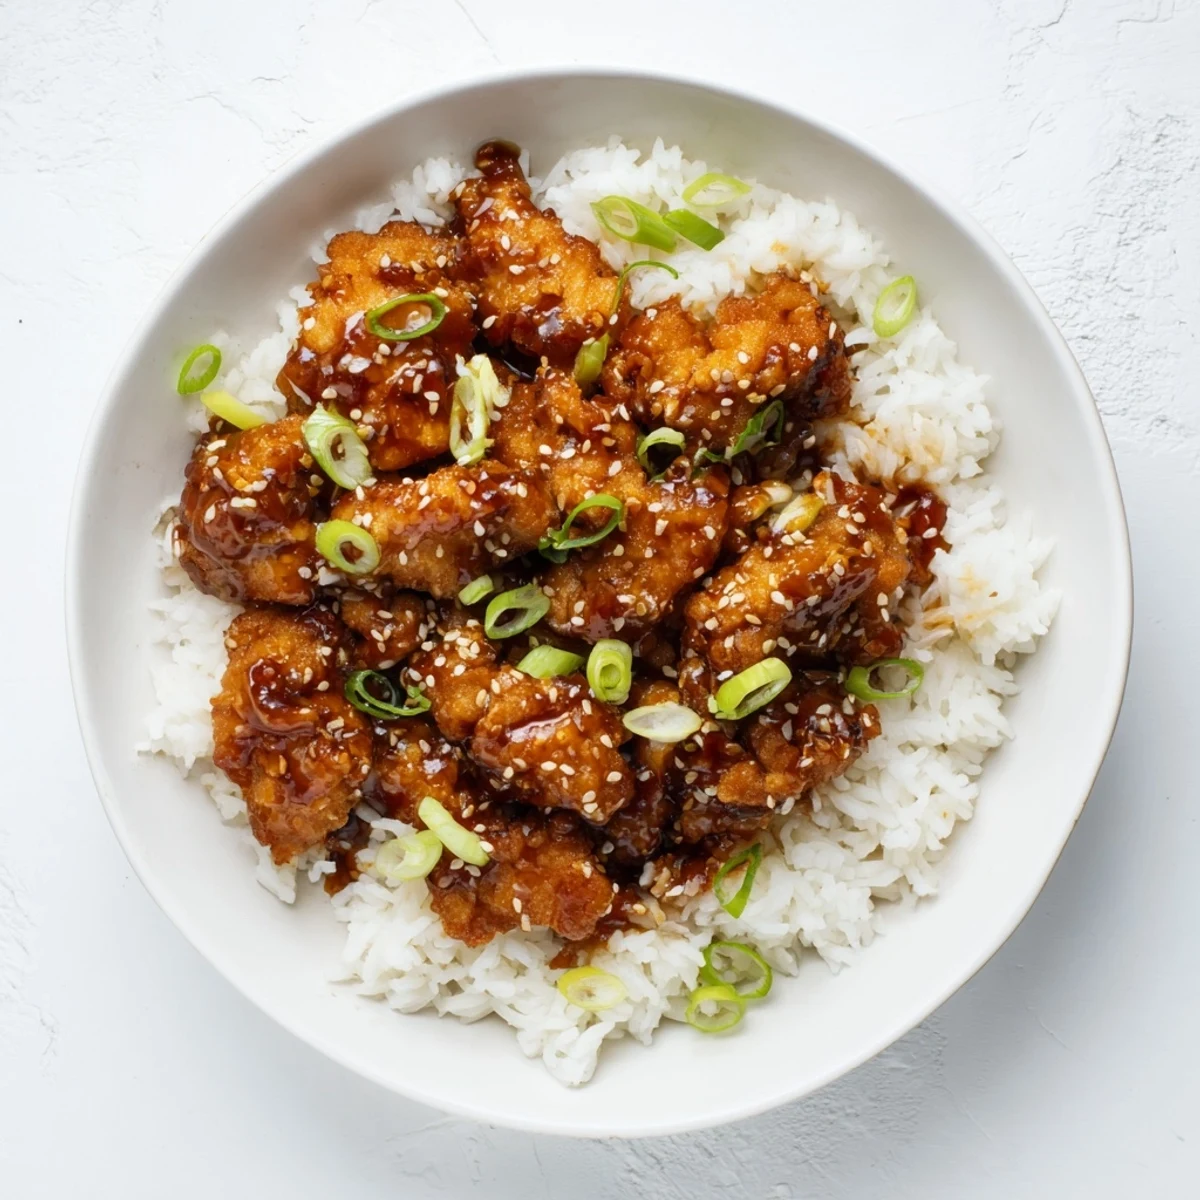
- Serve hot over steamed rice and finish with sliced green onions and toasted sesame seeds scattered on top
 Save
Save This recipe became my go-to for new parents and friends recovering from illness because it's impressive enough to feel special but comforting enough to actually get eaten. Something about that combination of salty, sweet, and ginger-spiked just hits different when you need food that feels like care.
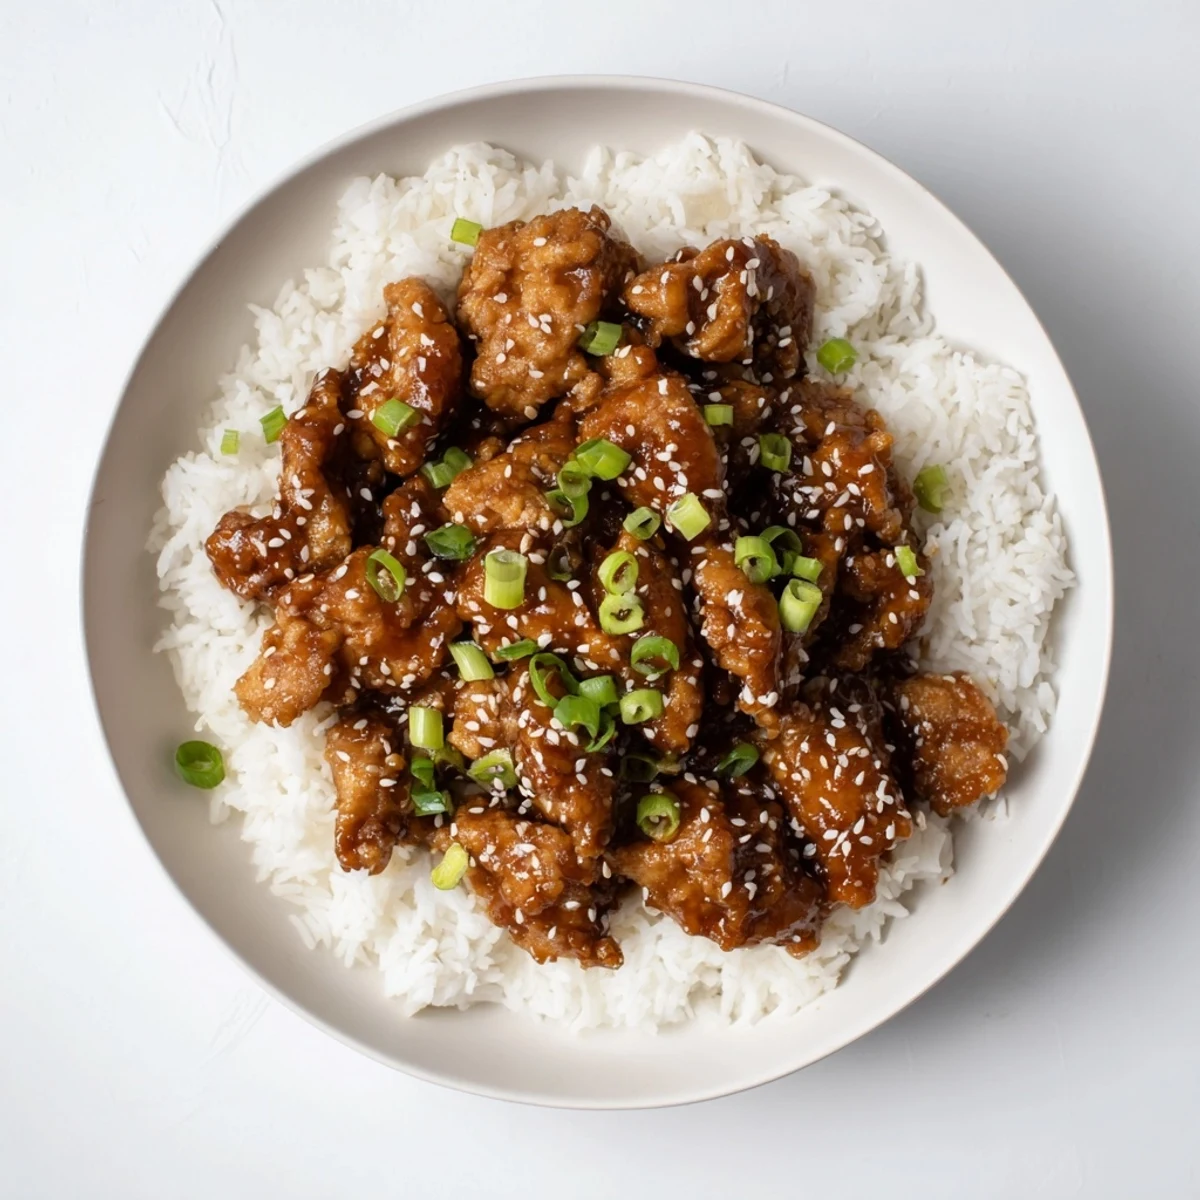
Getting That Restaurant-Quality Crisp
The difference between good Mongolian chicken and great Mongolian chicken comes down to not rushing the crisping step. I've learned that letting the chicken get properly golden in batches, even though it takes longer, means each piece stays crunchy even after being tossed in sauce.
Making The Sauce Your Own
Sometimes I'll add a splash more rice vinegar if I want it brighter, or an extra pinch of red chili flakes when I'm craving more heat. The sauce is forgiving and adjusts easily to your taste preferences.
Perfect Pairings
A simple cucumber salad dressed with rice vinegar cuts through the richness beautifully, and steamed broccoli with a drizzle of oyster sauce balances the sweet elements.
- Jasmine rice works better than long-grain here because its slight clinginess holds the sauce
- A cold beer or dry Riesling complements the sweet-savory profile
- Make extra sauce, it's incredible over plain rice the next day
 Save
Save This is one of those recipes that feels fancy enough for guests but easy enough for a Tuesday night, and that's exactly the kind of cooking I always want more of in my life.
Recipe FAQs
- → What makes Mongolian chicken different from other Asian chicken dishes?
-
Mongolian chicken features a distinctive sauce that combines soy sauce with brown sugar, creating a perfect balance between sweet and savory flavors. The sauce is thicker and clingier than typical stir-fry sauces, coating every piece of crispy chicken. Fresh ginger and garlic provide aromatic depth, while hoisin adds richness and complexity.
- → Can I use chicken breasts instead of thighs?
-
Absolutely. While chicken thighs remain juicier and more flavorful, chicken breasts work perfectly fine. Just be careful not to overcook them, as they can dry out faster than thighs. Cut them into similar bite-sized pieces and adjust cooking time slightly—breasts typically need 1-2 minutes less per side.
- → How do I get the chicken extra crispy?
-
The cornstarch coating is key for achieving crispiness. For even better results, try the double-fry method mentioned in the notes: fry the chicken once until golden, remove it from the pan, then fry again for 1-2 minutes before adding the sauce. Also, avoid overcrowding the pan—cook in batches to maintain high heat.
- → Is this dish spicy?
-
The base version is not spicy. The red chili flakes are optional and listed as an ingredient for those who enjoy heat. Without them, the dish focuses purely on the sweet-savory flavor profile. If you prefer mild flavors but want a little warmth, start with just 1/2 teaspoon of chili flakes.
- → Can I make this gluten-free?
-
Yes, simply substitute regular soy sauce and hoisin sauce with their gluten-free counterparts. Many brands now offer gluten-free versions that work perfectly in this dish. The cornstarch coating is naturally gluten-free, so that doesn't need any changes. Always check labels to confirm your ingredients are certified gluten-free.
- → What vegetables can I add to this dish?
-
Bell peppers and snap peas work beautifully for adding color and crunch. You can also add broccoli florets, carrots, or water chestnuts. Add stir-fried vegetables during the final 2-3 minutes of cooking so they stay tender-crisp. This is a great way to make the meal more nutritious and stretch servings further.
- → How long does the sauce keep in the refrigerator?
-
The sauce can be made ahead and stored in an airtight container in the refrigerator for up to 5 days. When ready to use, reheat gently in a saucepan over low heat, stirring occasionally. The sauce may thicken when cold—add a splash of water to reach desired consistency.