 Save
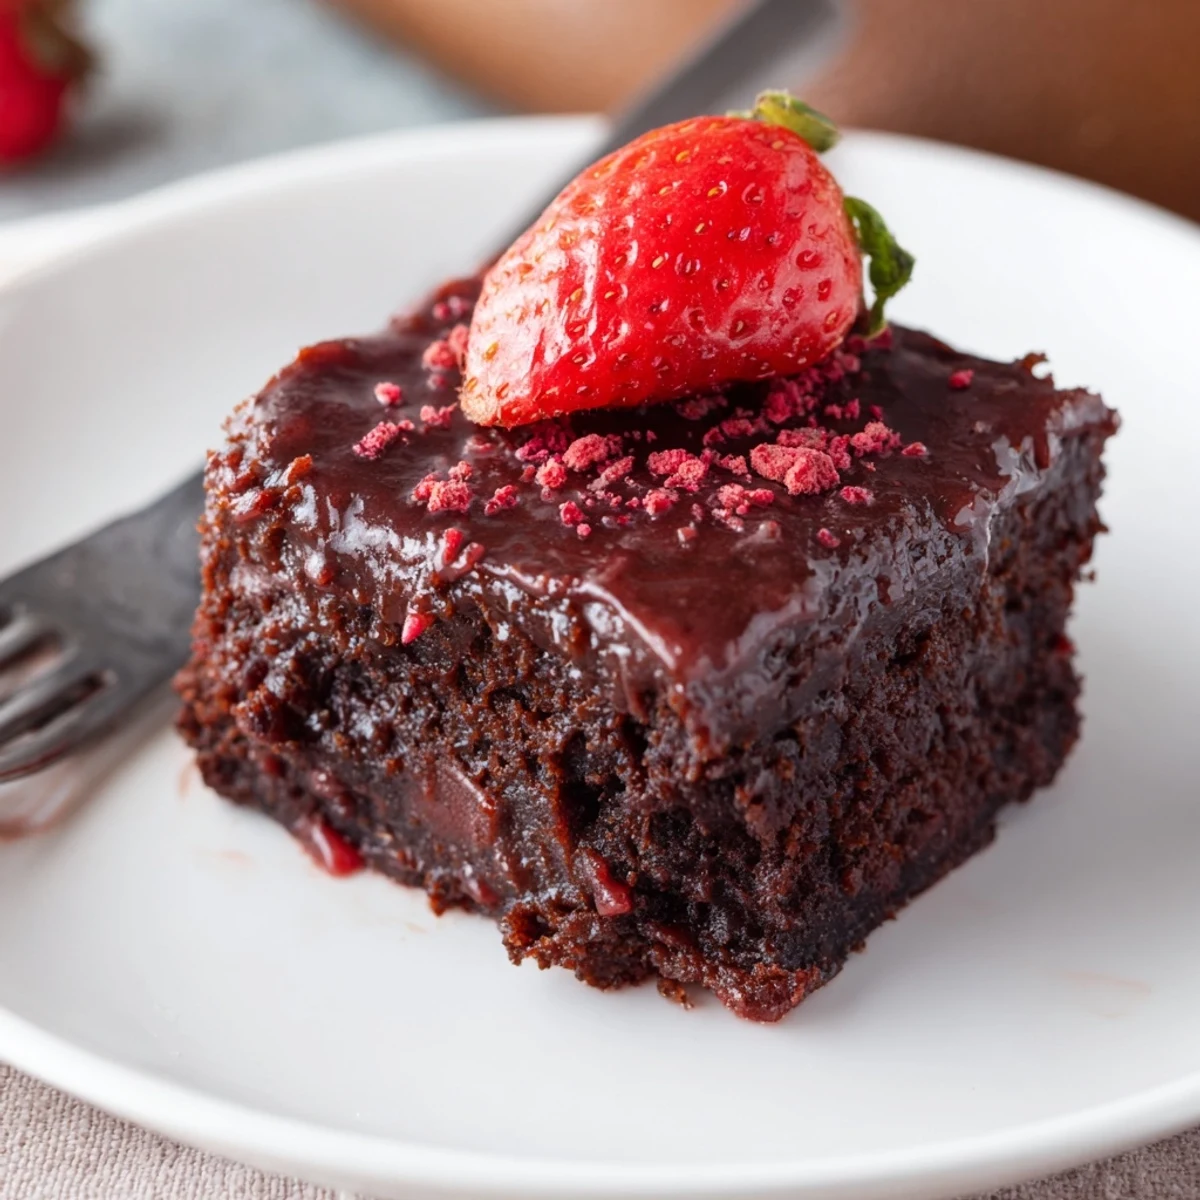
Save These fudgy strawberry brownies combine melted butter, sugar, and strawberry puree with eggs and vanilla, folded into flour and baking powder. Batter bakes 22–25 minutes in an 8x8-inch pan; cool completely before glazing with powdered sugar and extra puree. Makes 16 squares; add freeze-dried strawberries or jam for a bolder fruit note, and store airtight up to 3 days.
The first time I made strawberry brownies, my kitchen was filled with the scent of berries and melted butter—it was honestly impossible not to sneak a taste of the batter. As I stirred pink ribbons through the mixture, my playlist kept skipping, but I barely noticed, too caught up by the color and my anticipation. These aren’t your run-of-the-mill chocolate brownies. Imagine the familiar comfort of brownies, but with a burst of springtime in every bite.
There was a day I baked these for a surprise brunch, and my friend walked in just as I was pouring on the pink glaze—she gasped at how pretty they looked, then waited (not so patiently) for them to set so she could snag a corner piece.
Ingredients
- Unsalted Butter: Melting the butter helps with dense, fudgy crumbs—take care not to overheat it or the eggs might scramble.
- Large Eggs: Room temperature eggs blend more smoothly and make for a fluffier batter.
- Vanilla Extract: Just a dash rounds out the sweetness and intensifies the strawberry.
- Strawberry Puree: Fresh or frozen both work, but straining the puree keeps the batter silky; sometimes I even sneak an extra spoonful for color.
- Granulated Sugar: Standard sugar keeps these brownies from tasting too tart; I tried organic once and found the texture a bit grainier.
- All-purpose Flour: Stick to all-purpose for the best structure—it holds the puree’s moisture just right.
- Baking Powder: This gives a little lift; I once forgot it, and the brownies were a bit too dense (still delicious, though).
- Salt: Don’t skip it—it sharpens all the flavors, especially with something this sweet.
- Powdered Sugar: For the glaze, powdered sugar is a must for that smooth, glossy finish.
- Lemon Juice: A tiny splash brightens the glaze and makes the pink pop even more.
Instructions
- Prepare the Pan:
- Grease your 8x8 pan and line it with parchment paper; the paper makes lifting the brownies out cleanly so much easier.
- Mix the Wet Ingredients:
- Whisk the melted butter, sugar, and pureed strawberries until pink and glossy—it’s mesmerizing to watch.
- Blend in Eggs and Vanilla:
- Add eggs and vanilla, whisking fast so your batter stays smooth and doesn’t curdle.
- Combine the Dry Ingredients:
- In a separate bowl, whisk together the flour, baking powder, and salt—you’ll see how the powder vanishes instantly.
- Unite Wet and Dry:
- Gently fold the dry mix into the wet just until you see no more flour; stop before it looks over-mixed to keep the crumb delicate.
- Bake:
- Pour into your pan, smooth the top, and bake until the edges pull slightly from the pan and your kitchen smells like strawberries and sugar.
- Cool:
- Let the brownies cool fully in the pan—it’s tempting to slice them warm, but patience pays off with cleaner edges.
- Mix the Glaze:
- Whisk powdered sugar, strawberry puree, and lemon juice until pourable; aiming for the texture of thick cream works best.
- Glaze and Serve:
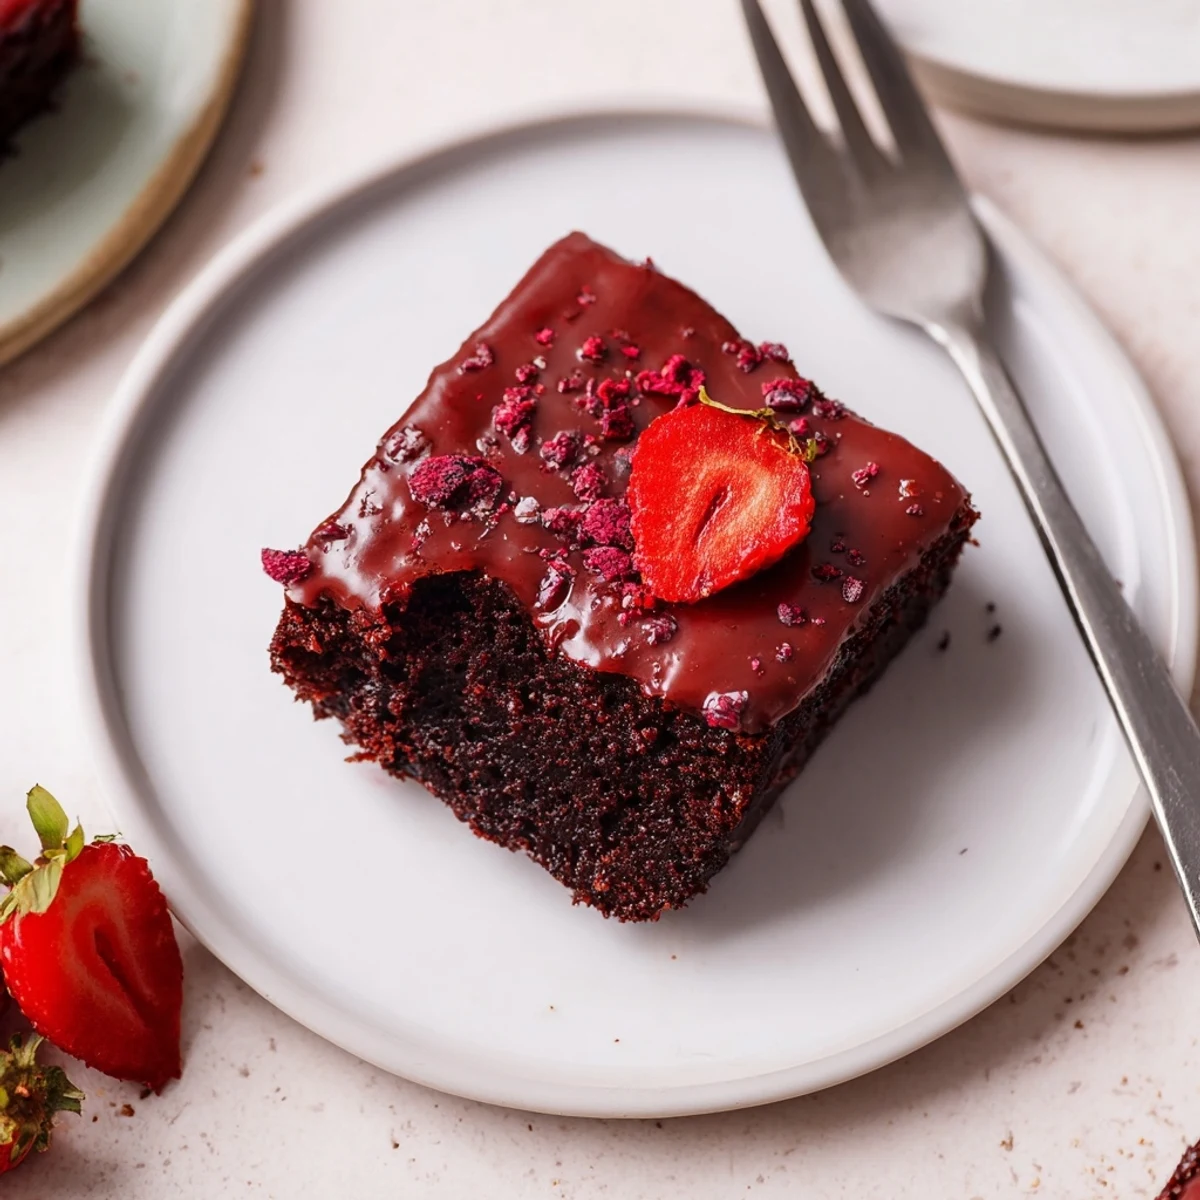
- Spread the glaze over cooled brownies, let it set, then slice into glossy pink squares and share (or keep them to yourself for a day or two).
 Save
Save The first time these showed up at a neighborhood picnic, people wandered over just to ask what smelled so good, and suddenly even folks who claimed they didn’t like brownies were vying for the last square.
Tweaking for Your Taste
I’ve tried mixing chopped freeze-dried strawberries into the batter—the result is little pockets of tartness that surprise you in the best way. If you’re feeling adventurous, swap some of the strawberry puree for jam to intensify both color and flavor. It’s the kind of recipe that easily makes room for little tweaks, so you can dial it up to your personal sweet spot.
Easy Ways to Serve
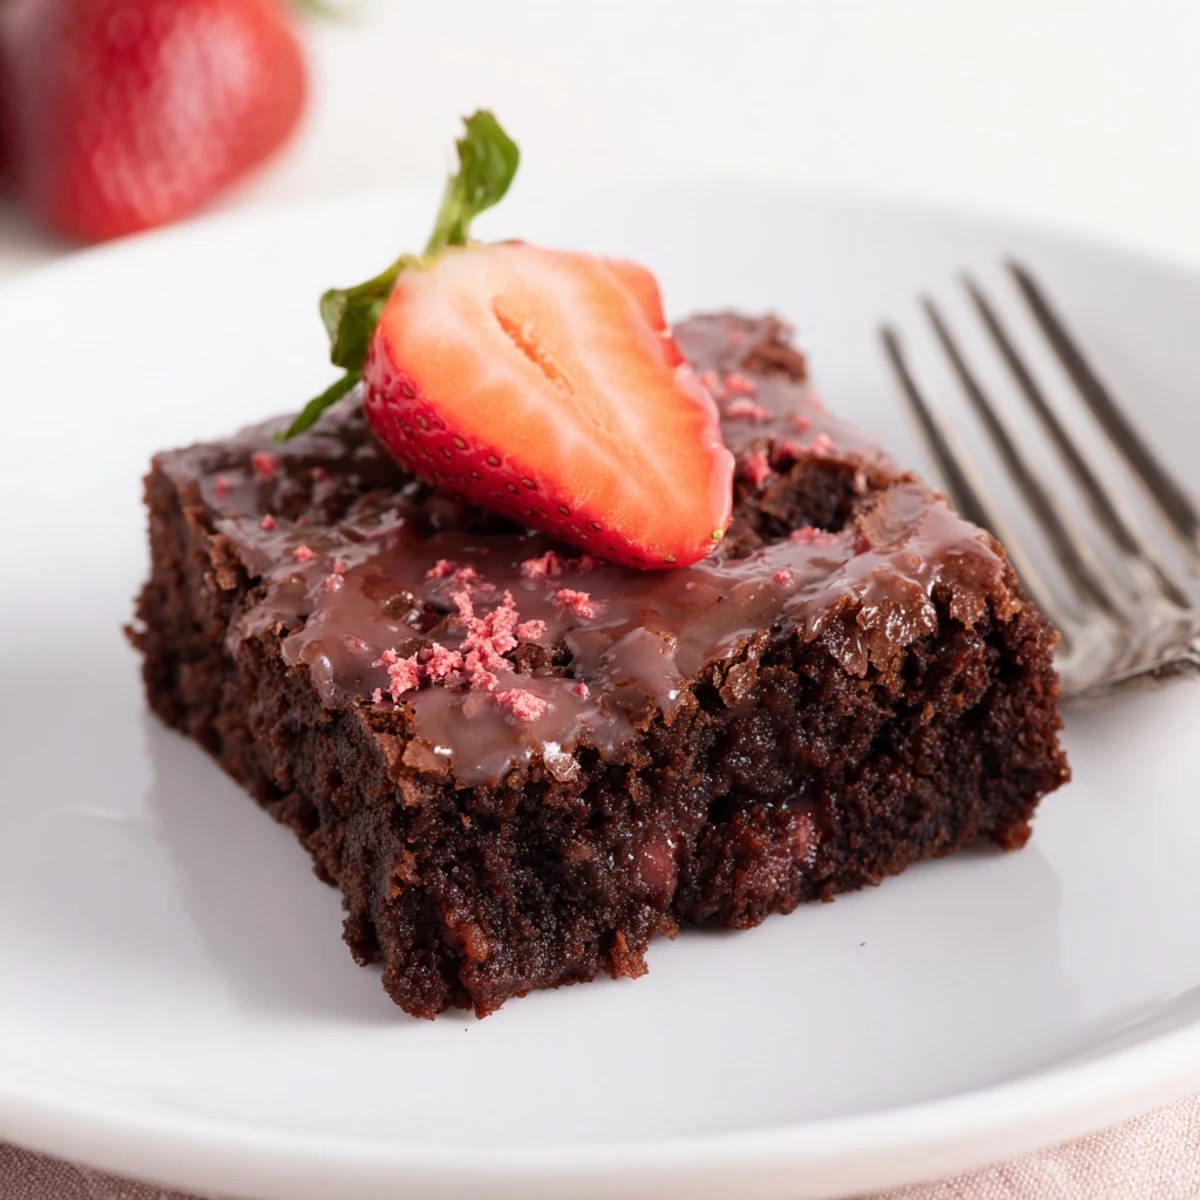
Once, I topped these with barely sweetened whipped cream and fresh berries and it made them feel like a fancy plated dessert. For quick entertaining, I simply stack the squares on a platter with a scattering of freeze-dried berry dust. Sometimes I’ll wrap up a few to tuck into lunchboxes, where they survive surprisingly well.
Quick Fixes Before You Bake
Forgot to bring your eggs up to room temp? Just set them in a bowl of warm water. If your strawberry puree is on the tart side, balance it with a teaspoon of extra sugar in the batter. Always taste the glaze before spreading, adjusting lemon or sugar as needed.
- If the glaze looks too thick, add puree drop by drop until smooth.
- Store leftovers in an airtight container lined with parchment so the tops stay pretty.
- Resist the urge to cut them before fully set or you’ll smudge that beautiful pink glaze.
 Save
Save Whether these are for a spring party or just a whim on a random Tuesday, they always make the day more cheerful. Give them a try—there’s something about their color and flavor that lifts your whole kitchen.
Recipe FAQs
- → How do I make them extra fudgy?
-
Reduce the flour slightly and avoid overmixing the batter. Pull the pan from the oven when the center still has a few moist crumbs — residual heat finishes the bake and preserves a dense, fudgy crumb.
- → Can I use freeze-dried strawberries?
-
Yes. Fold chopped freeze-dried strawberries into the batter for concentrated fruit bursts, or grind them to a powder and mix into the glaze or batter for extra flavor without added moisture.
- → How can I boost the strawberry flavor?
-
Swap part of the puree for strawberry jam, add a spoonful of jam to the batter, or stir in freeze-dried strawberry powder. A touch of lemon juice in the glaze brightens the fruit notes.
- → What’s the best way to store and freeze the squares?
-
Store glazed squares in an airtight container at room temperature up to 3 days. For longer storage, freeze unglazed squares wrapped tightly in plastic and foil for up to 2 months; thaw at room temperature before glazing.
- → Can I change the pan size or yield?
-
Yes. An 8x8-inch pan yields about 16 squares. For a 9x9-inch pan expect slightly thinner bars and reduce bake time by a few minutes; for a 9x13-inch, double the batch and increase baking time, checking until edges set.
- → How can I adapt for common allergens?
-
Replace butter with a neutral plant-based spread for dairy-free, use a flax or chia egg (1 tbsp ground seed + 2.5 tbsp water) for egg-free, and swap to a 1:1 gluten-free flour blend for wheat-free versions; textures may vary slightly.