 Save
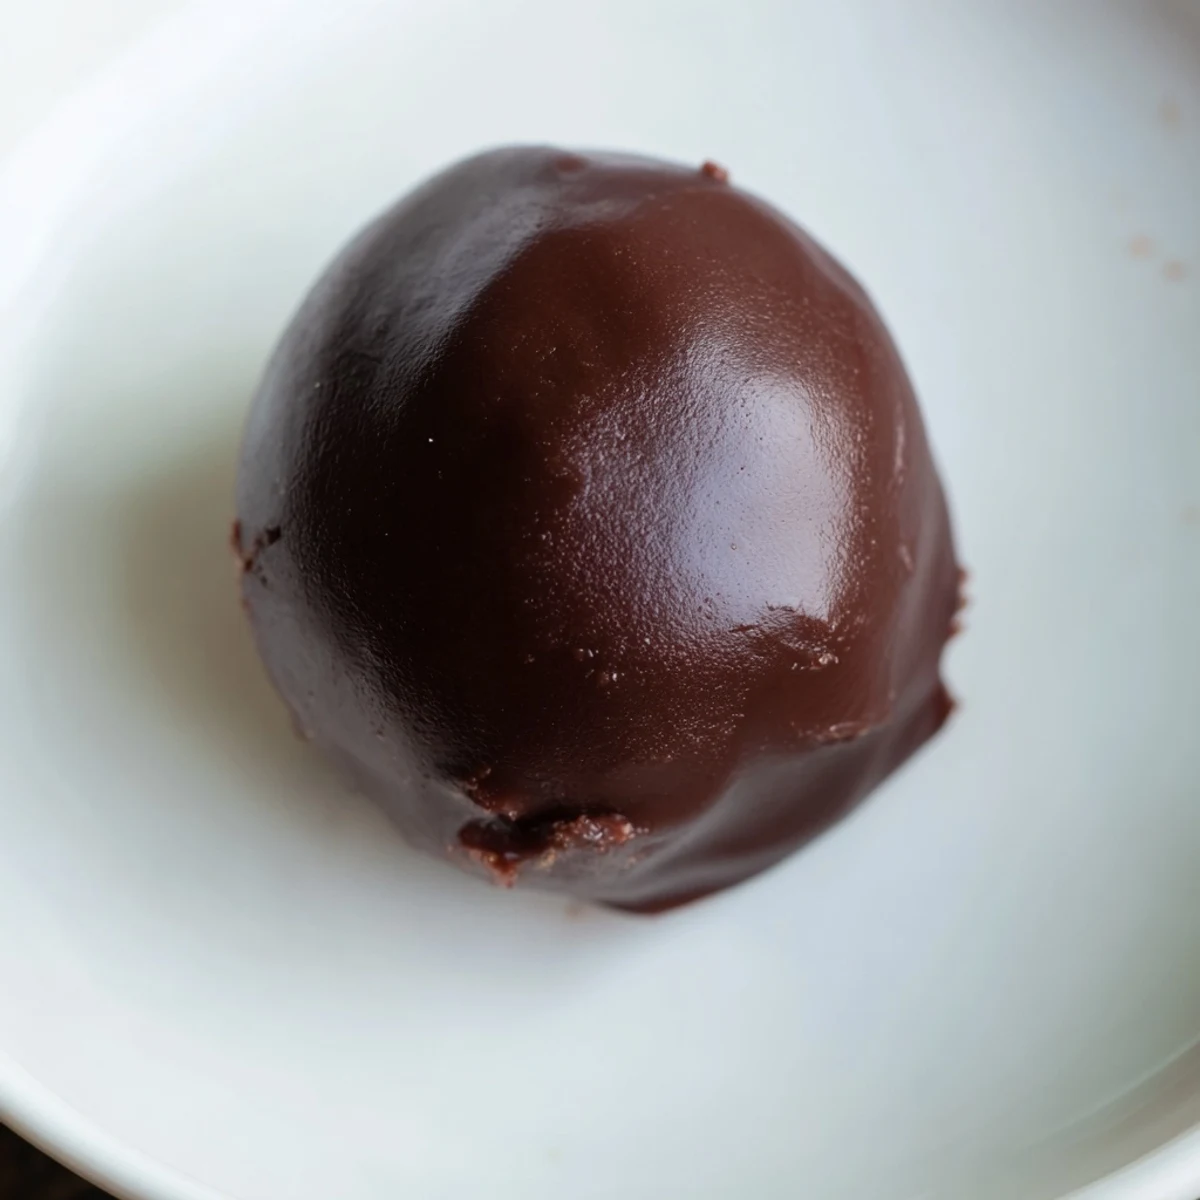
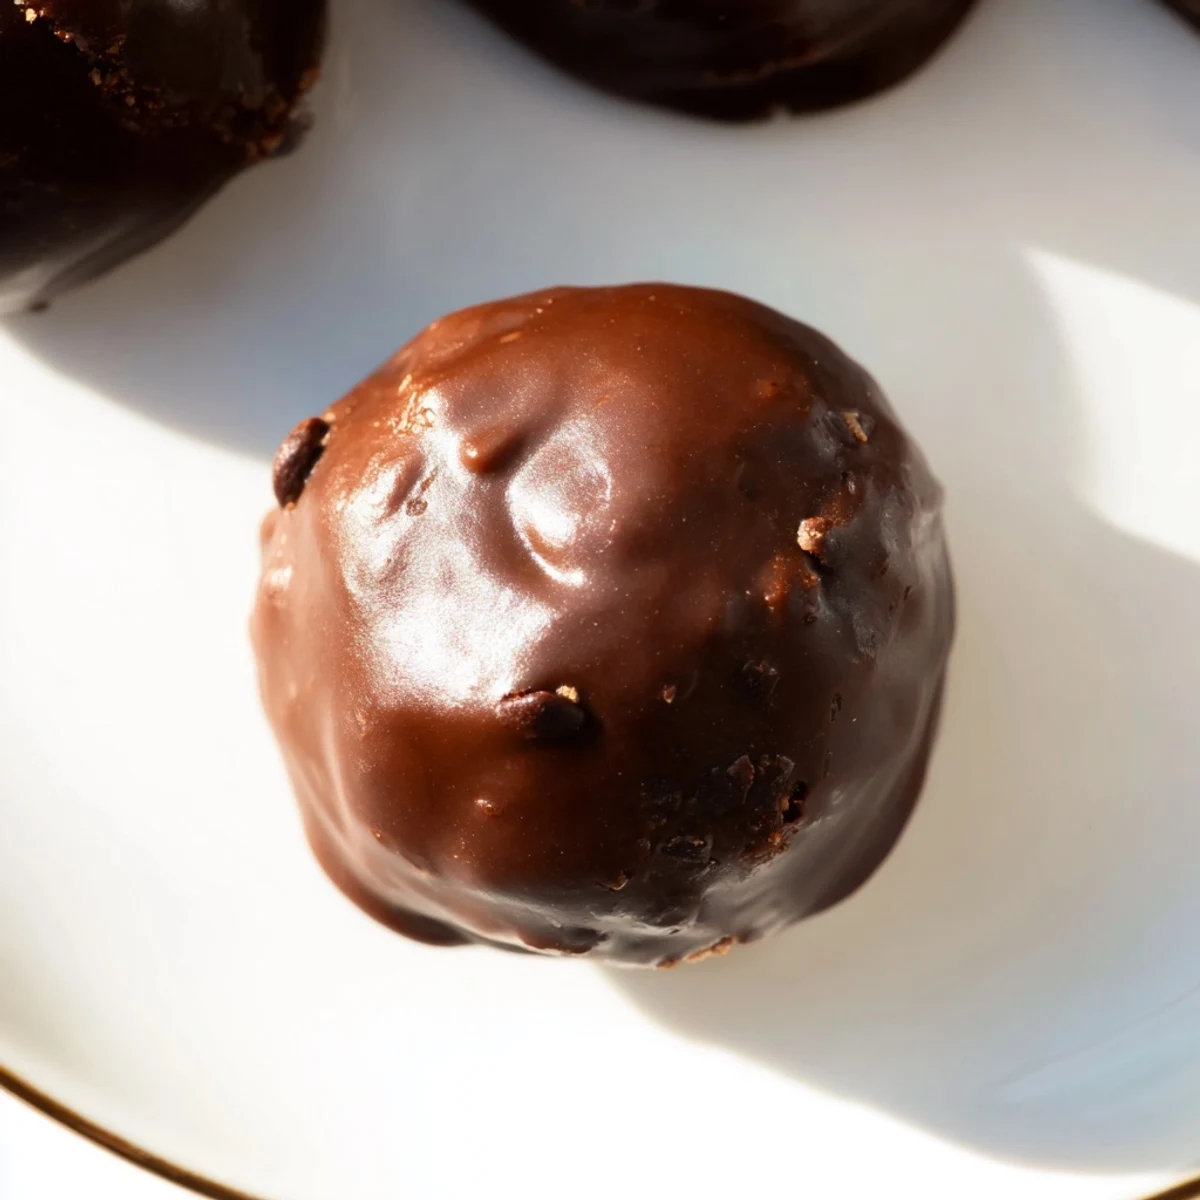
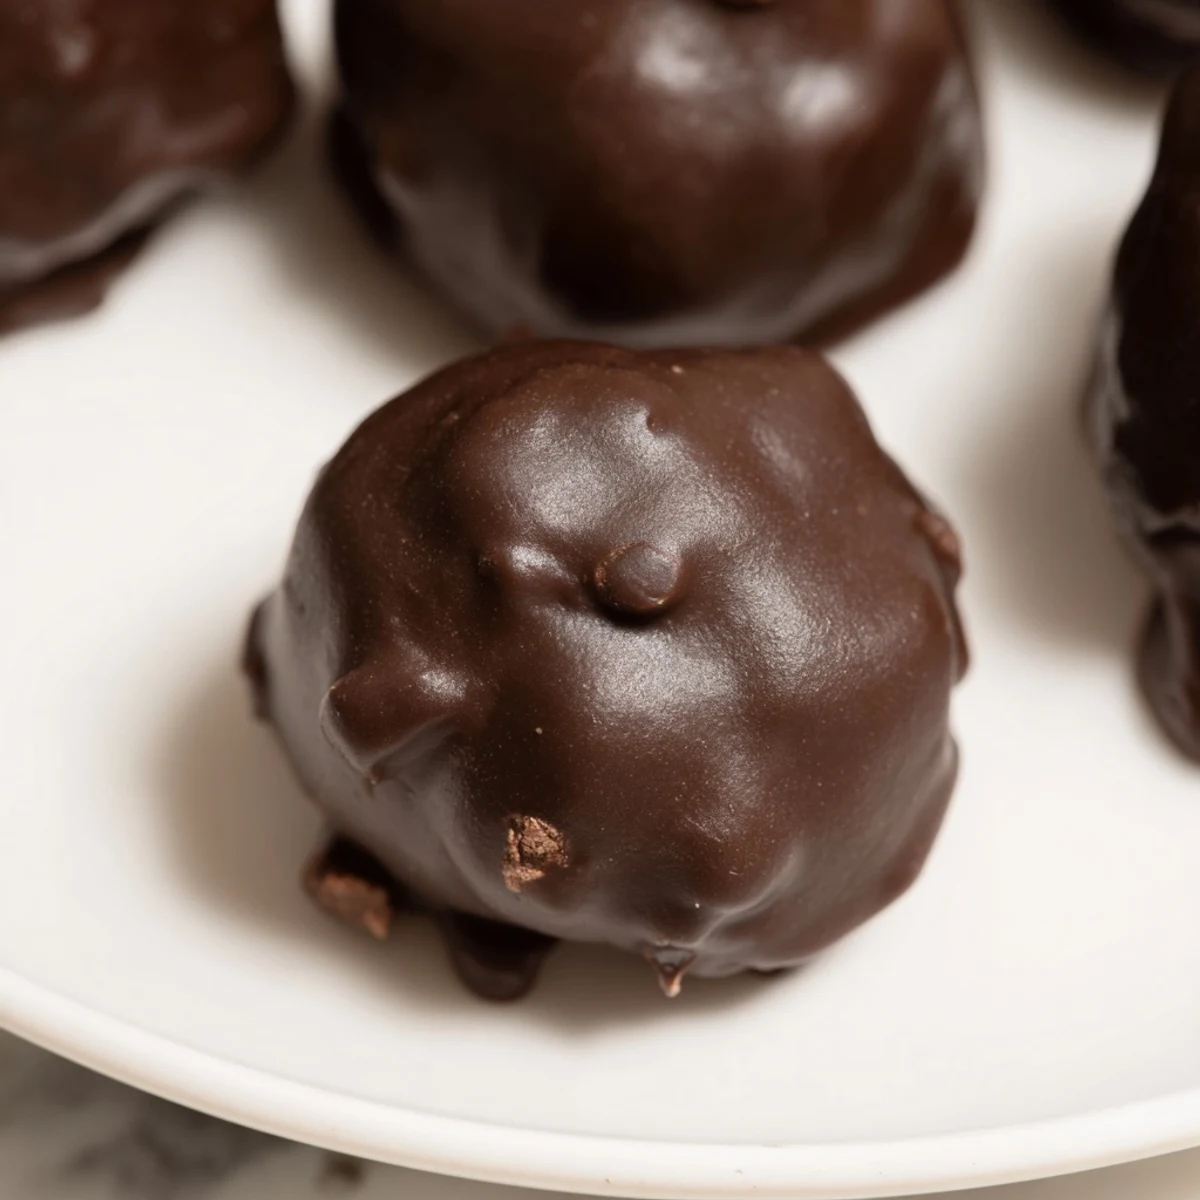
Save These rich, bite-sized delights combine a smooth chocolate coating with flavorful cookie dough made from butter, sugars, and vanilla. Mini chocolate chips add texture while freezing firms the dough for easy handling. Coating with melted semisweet chocolate and optional coconut oil creates a glossy finish. Perfect chilled treats to enjoy as snacks or party favors. Variations include adding nuts or using different chocolate types. Store refrigerated for freshness up to a week.
There's something magical about the moment when cookie dough transforms from a mixing bowl into something you're actually supposed to eat. I discovered these truffles during a late-night kitchen experiment, when I realized that the most craveable part of baking cookies has always been the dough itself—so why not lean into it? These little chocolate-coated bites capture that exact feeling of sneaking raw cookie dough off a spoon, except here it's refined, intentional, and socially acceptable to serve to guests.
I brought a batch of these to a book club last spring, and they disappeared faster than I could refill the plate. One friend asked if they were store-bought because she couldn't believe something so elegant came from my kitchen. That moment—watching people's eyes light up when they tasted the creamy dough center beneath the chocolate shell—made me understand why I keep making them.
Ingredients
- Unsalted butter (1 cup, softened): This is your base, so using quality butter matters more than you'd think. Softening it at room temperature lets it cream properly with the sugars, creating that light, fluffy texture that gives the truffles their tender crumb.
- Brown sugar and granulated sugar (1 cup each): The brown sugar brings depth and chewiness, while the granulated sugar adds structure and a subtle sweetness that doesn't overpower.
- Milk (2 tbsp): This small amount of liquid creates a smoother, more workable dough without making it greasy or unstable.
- Pure vanilla extract (2 tsp): Use real vanilla—it transforms the dough from tasting like a baking ingredient into something warm and complete.
- Heat-treated all-purpose flour (2 ¼ cups): The heat treatment eliminates food safety concerns while keeping the flour's structure intact. Spreading it on a baking sheet and warming it at 350°F for 7-10 minutes takes the worry out of eating raw dough.
- Salt (½ tsp): This tiny amount amplifies all the flavors around it, making everything taste more like itself.
- Mini chocolate chips (1 cup): These distribute evenly throughout the dough and bake into the truffle's texture. They're essential to the eating experience.
- Semisweet or dark chocolate (12 oz, chopped): This forms the elegant shell. Semisweet is approachable and balanced, while dark chocolate adds a sophisticated edge.
- Coconut oil or vegetable oil (1 tbsp, optional): This is a small addition that makes a big difference if your chocolate seems thick—it keeps the coating smooth and glossy without changing the flavor.
Instructions
- Cream the butter and sugars:
- In a large bowl, beat the softened butter with both sugars until the mixture looks pale and fluffy, like clouds. This takes about 2-3 minutes and creates air pockets that make the finished truffles tender rather than dense.
- Add the wet ingredients:
- Pour in the milk and vanilla, and mix until everything is smooth and combined. You'll notice the mixture becoming glossy and smooth.
- Incorporate the flour gently:
- Add the heat-treated flour and salt a bit at a time, stirring until just combined. Don't overmix here—overworked dough becomes tough, and you want these truffles to have a gentle crumb.
- Fold in the chocolate chips:
- Stir the mini chocolate chips through the dough with a few final passes of your spoon. They should be scattered throughout but not crushed.
- Roll into balls:
- Using your hands or a small cookie scoop, form the dough into 1-inch balls and place them on a parchment-lined baking sheet. Working quickly keeps the dough from becoming too warm, which makes rolling harder.
- Chill the dough balls:
- Freeze them for 30 minutes until they're firm and hold their shape. This prevents them from falling apart when you dip them in chocolate.
- Melt the chocolate:
- In a microwave-safe bowl, melt the chopped chocolate in 30-second increments, stirring between each burst. This gentle approach prevents scorching and keeps the chocolate smooth and glossy.
- Dip with intention:
- Using a fork or dipping tool, submerge each chilled dough ball into the melted chocolate, letting the excess drip off before returning it to the baking sheet. The fork keeps your hands clean and gives you control over the coating thickness.
- Set the chocolate:
- Refrigerate the truffles for about 15 minutes until the chocolate hardens into a thin, snappable shell. This is your moment of satisfaction—watching them transform into something completely finished.
 Save
Save There's something deeply satisfying about biting into one of these and hearing the chocolate crack, revealing the soft, buttery dough inside. It's the kind of small moment that makes you feel like you've accomplished something, even though you've barely done any actual cooking.
Why These Work as Gifts
These truffles look like something from a professional chocolatier, which means they feel luxurious without requiring professional skills. I've wrapped them in cellophane tied with ribbon and watched people's faces when they realize I made them—there's something about homemade chocolate-covered treats that feels more thoughtful than almost anything else. They also stay fresh for a week in the refrigerator, so you can make them a day or two in advance without stress.
Flavor Variations That Stick Around
The basic vanilla-and-chocolate formula is perfect on its own, but I've found that small additions create entirely different experiences. Adding ½ cup of toasted walnuts or pecans gives the dough a pleasant crunch and an earthy warmth that pairs beautifully with dark chocolate. Using white chocolate for the coating creates a completely different visual moment, almost like a reverse truffle, and I've found it appeals to people who find dark chocolate too intense. The recipe is forgiving enough that you can experiment without fear—the foundation is so solid that variations feel intentional rather than accidental.
Serving and Storage Wisdom
These are best enjoyed cold, right from the refrigerator when the chocolate is still firm and the dough has that perfect texture. I've learned to keep them in an airtight container on the fridge's middle shelf, away from anything strongly scented that might transfer flavor. They pair beautifully with coffee, dessert wine, or even a quiet moment with a book when you need a small indulgence.
- Store them in an airtight container in the refrigerator for up to one week to keep them fresh and firm.
- Remove them from the fridge a minute or two before serving if you like the chocolate to have a slight give rather than full crispness.
- If the dough feels too soft when you're rolling it, pop the bowl in the freezer for 10 minutes to make it easier to handle.
 Save
Save These truffles have become my answer to the question of what to bring somewhere when I want to impress without spending hours in the kitchen. They're proof that the simplest recipes, made with attention and care, often feel the most special.
Recipe FAQs
- → How do I safely prepare the dough?
-
Heat-treat the flour by baking it at 350°F (175°C) for 7-10 minutes to eliminate bacteria before mixing it into the dough.
- → What type of chocolate works best for coating?
-
Semisweet or dark chocolate provides a rich coating, while white or milk chocolate offer sweeter alternatives. Adding coconut oil helps achieve a smoother finish.
- → Can nuts be added to these treats?
-
Yes, adding chopped toasted walnuts or pecans to the dough creates a nutty twist that complements the chocolate flavor.
- → How long should the truffles be chilled?
-
Freeze the dough balls for 30 minutes to firm them up before coating. After dipping, refrigerate for about 15 minutes until the chocolate sets.
- → What is the best way to store these treats?
-
Store truffles in an airtight container in the refrigerator to maintain freshness for up to one week.