 Save
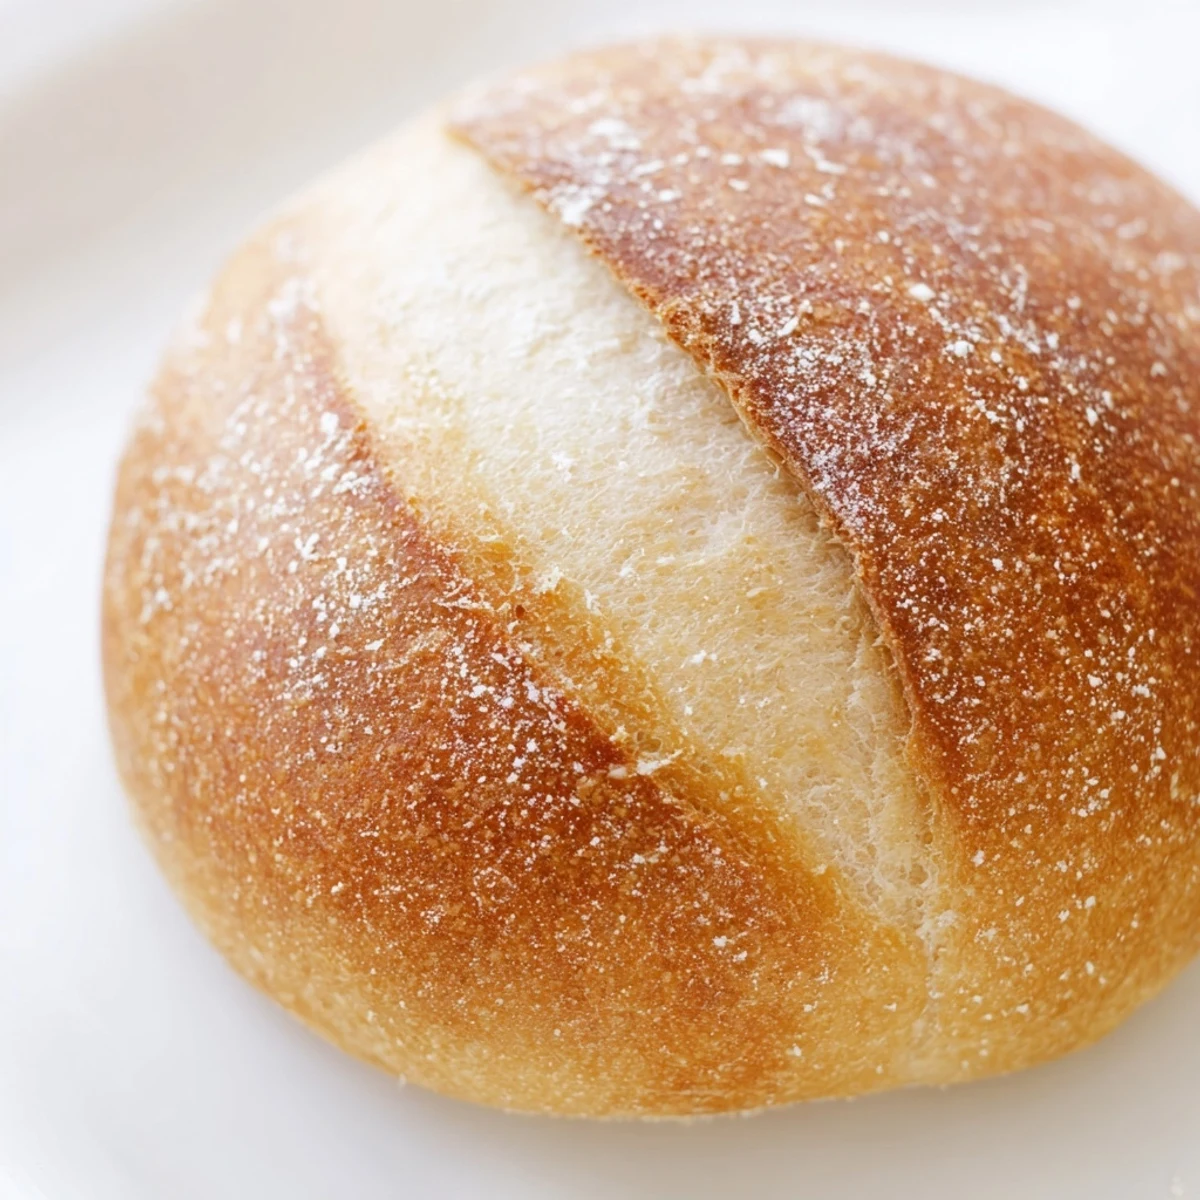
Save Create bakery-style French bread rolls at home with a golden, crackly crust and soft tender interior. These classic rolls feature a crisp exterior that gives way to an airy, light inside perfect for butter melting.
The process involves simple ingredients - bread flour, yeast, water, and salt - transformed through proper kneading and two rising periods. Steam baking creates that signature crunchy crust while keeping the inside moist and chewy.
Ready in about 2 hours including rising time, these versatile rolls elevate any meal. Serve them warm alongside hearty soups, fresh salads, or slice for sandwiches. The dough can be customized with seeds or milk for variation.
My tiny apartment kitchen smelled like a proper French boulangerie for the first time when I attempted these rolls. The steam from the water tray hit the hot oven walls and suddenly I was somewhere in Paris, not third-floor walk-up with drafty windows. Those first rolls came out misshapen but the crust sang when I broke them open, that perfect crackle that tells you something good is about to happen.
I served them at a dinner party where my friend Sarah, who had actually lived in France, took one bite and went quiet. She asked if I had a secret I wasnt telling her. That feels like the highest compliment bread can receive, honestly.
Ingredients
- Bread flour: The higher protein content creates that chewy interior and gives the dough the strength to hold those beautiful air pockets
- Lukewarm water: Too hot and you will kill the yeast, too cold and it will never wake up properly
- Active dry yeast: This is what makes the magic happen, give it time to get foamy before proceeding
- Salt: Do not be tempted to skip this, it is what keeps the bread from tasting like cardboard
- Sugar: Just enough to feed the yeast without making the rolls sweet
Instructions
- Wake up the yeast:
- Combine the lukewarm water, sugar, and yeast in your largest bowl, then walk away for 5 to 10 minutes until you see a foamy layer on top
- Build the dough:
- Add the bread flour and salt to your yeast mixture, mix until shaggy, then turn it onto a floured surface and knead for 8 to 10 minutes until the dough feels smooth and bounces back when you poke it
- Let it rise:
- Place your dough in a greased bowl, cover it with a damp cloth, and find the warmest spot in your kitchen for about an hour until it has doubled in size
- Shape the rolls:
- Gently punch down the dough, divide it into 8 equal pieces, and form each into a smooth ball or oval, tucking the edges underneath
- Second rise:
- Arrange your rolls on a parchment lined baking sheet, cover with a towel, and let them rest for 30 to 40 minutes until puffy
- Create the steam:
- Preheat your oven to 230°C with a tray of water on the bottom rack, this is the secret to the crispy crust
- Score and bake:
- Dust the tops with flour, slash each roll with a sharp knife, then bake for 20 to 25 minutes until deeply golden
 Save
Save My neighbor actually knocked on my door the third time I made these, thinking I had ordered from a bakery. Now she requests them whenever she comes over for dinner.
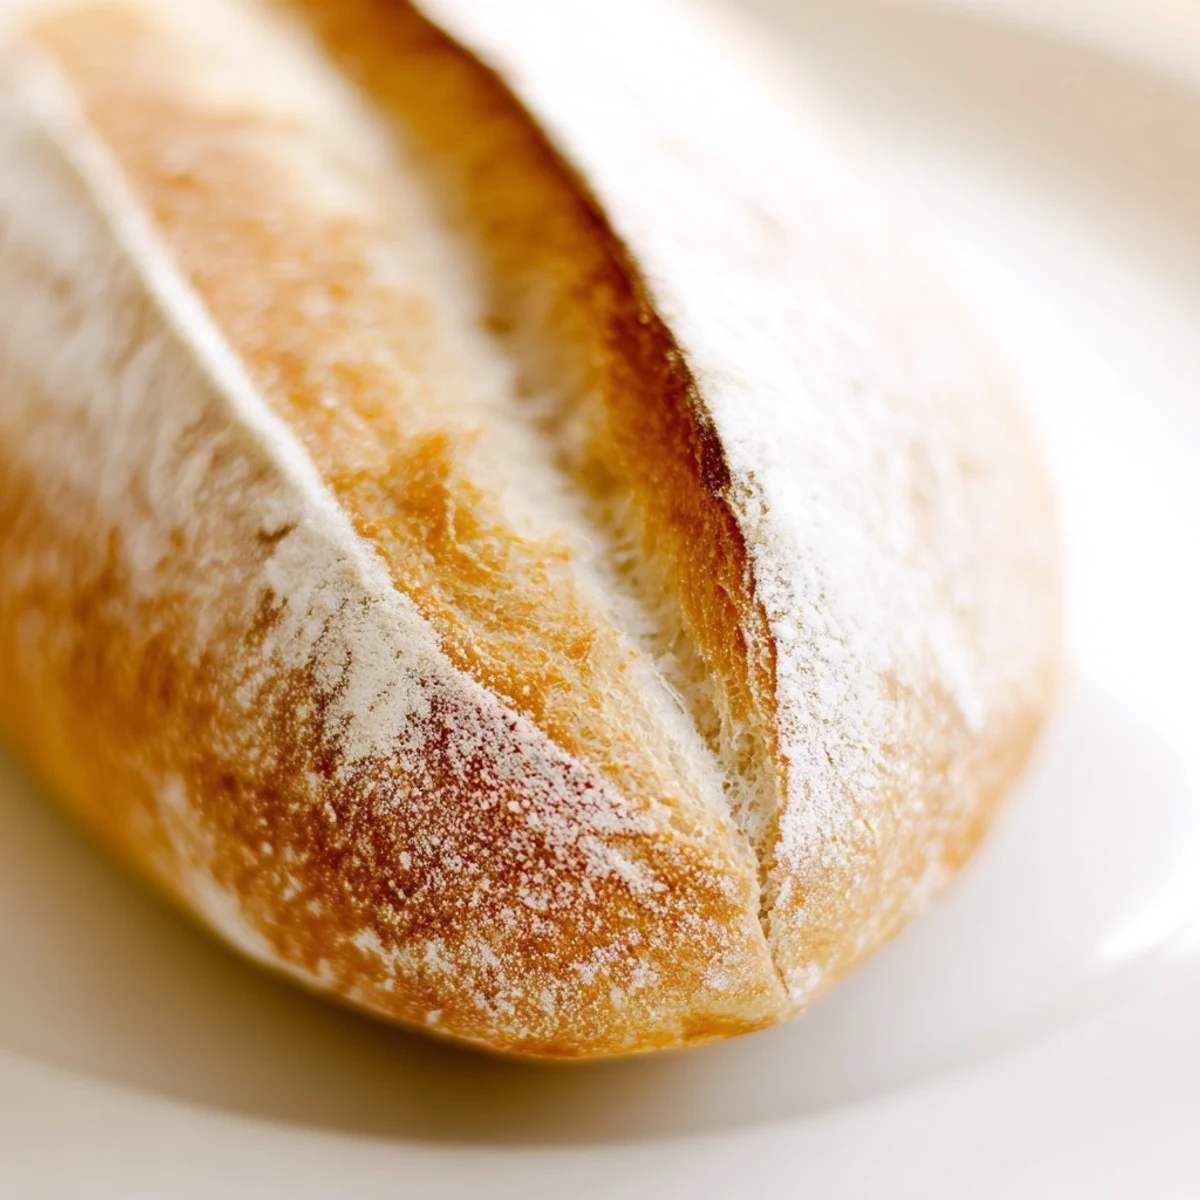
Creating That Bakery Crust
The steam trick is something I stumbled upon after years of making bread with decent but never professional results. The moisture keeps the exterior flexible longer, allowing the rolls to expand fully before the crust sets hard and golden.
Shaping With Confidence
I used to be afraid of handling dough, worried I would mess it up somehow. The truth is bread dough is surprisingly forgiving, and even imperfect shapes bake into something delicious.
Making Them Your Own
Once you have the basic technique down, these rolls become a canvas for whatever you are craving. The variations are endless and each one teaches you something new about how bread works.
- Try replacing some of the water with milk for a softer, richer roll
- Poppy or sesame seeds pressed gently into the tops add wonderful flavor
- These are perfect for sandwiches the next day if they last that long
 Save
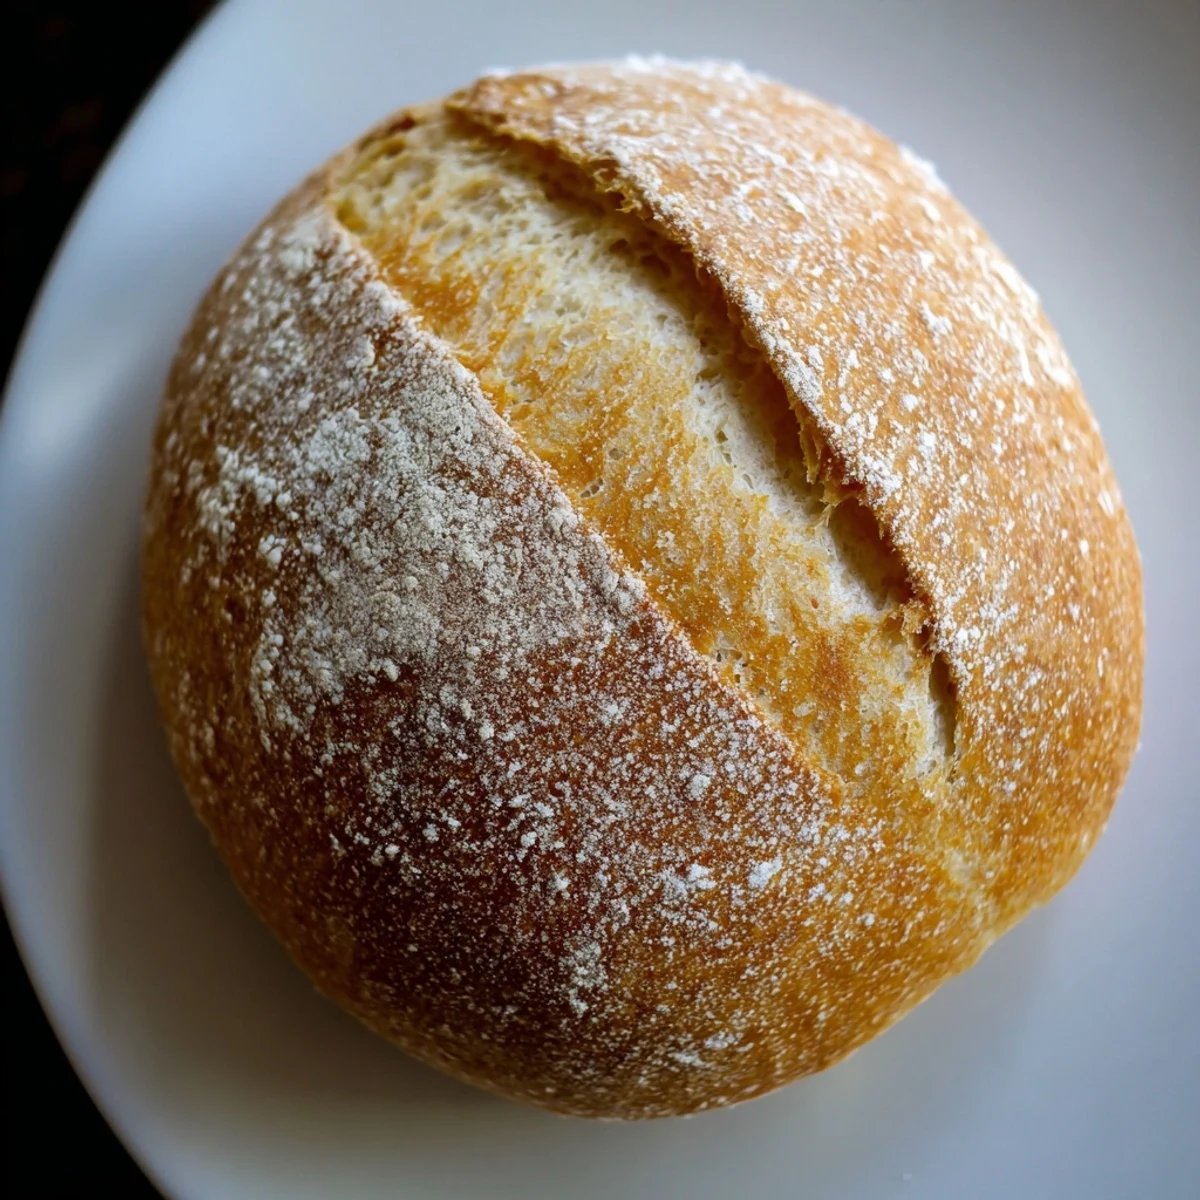
Save There is something deeply satisfying about pulling a tray of golden rolls from the oven, knowing you made this magic happen with your own hands and patience.
Recipe FAQs
- → What makes French bread rolls crusty?
-
The steam created by placing a water tray in the oven during baking develops a crackly, golden crust. This technique mimics professional deck ovens, producing that characteristic crispy exterior while keeping the interior tender and light.
- → Can I make these rolls ahead of time?
-
Yes, prepare the dough through the first rise, then refrigerate overnight. Bring to room temperature before shaping and the final rise. Baked rolls freeze well for up to 3 months - reheat in a 350°F oven for 5-10 minutes to refresh the crust.
- → Why is my dough not rising?
-
Ensure your water is lukewarm (about 110°F) - too hot kills yeast, too cold slows activation. Check that your yeast is fresh and not expired. Place dough in a warm, draft-free area away from cold windows or air conditioning vents.
- → What can I use instead of bread flour?
-
All-purpose flour works but produces slightly softer rolls. For better structure with AP flour, add 1 tablespoon vital wheat gluten per cup. Whole wheat flour can replace up to half the bread flour for nuttier flavor and added fiber.
- → How do I know when the rolls are done baking?
-
Fully baked rolls should be deep golden brown with a firm, hollow-sounding crust when tapped on the bottom. The internal temperature should reach 200-205°F. Underbaked rolls will be doughy inside, so resist removing them too early.
- → Can I add mix-ins like cheese or herbs?
-
Absolutely. Fold in shredded gruyère, parmesan, or cheddar during the final kneading. Fresh herbs like rosemary, thyme, or chopped garlic also enhance flavor. Add about 1/2 cup of mix-ins for 8 rolls, adjusting flour slightly if dough becomes sticky.