 Save
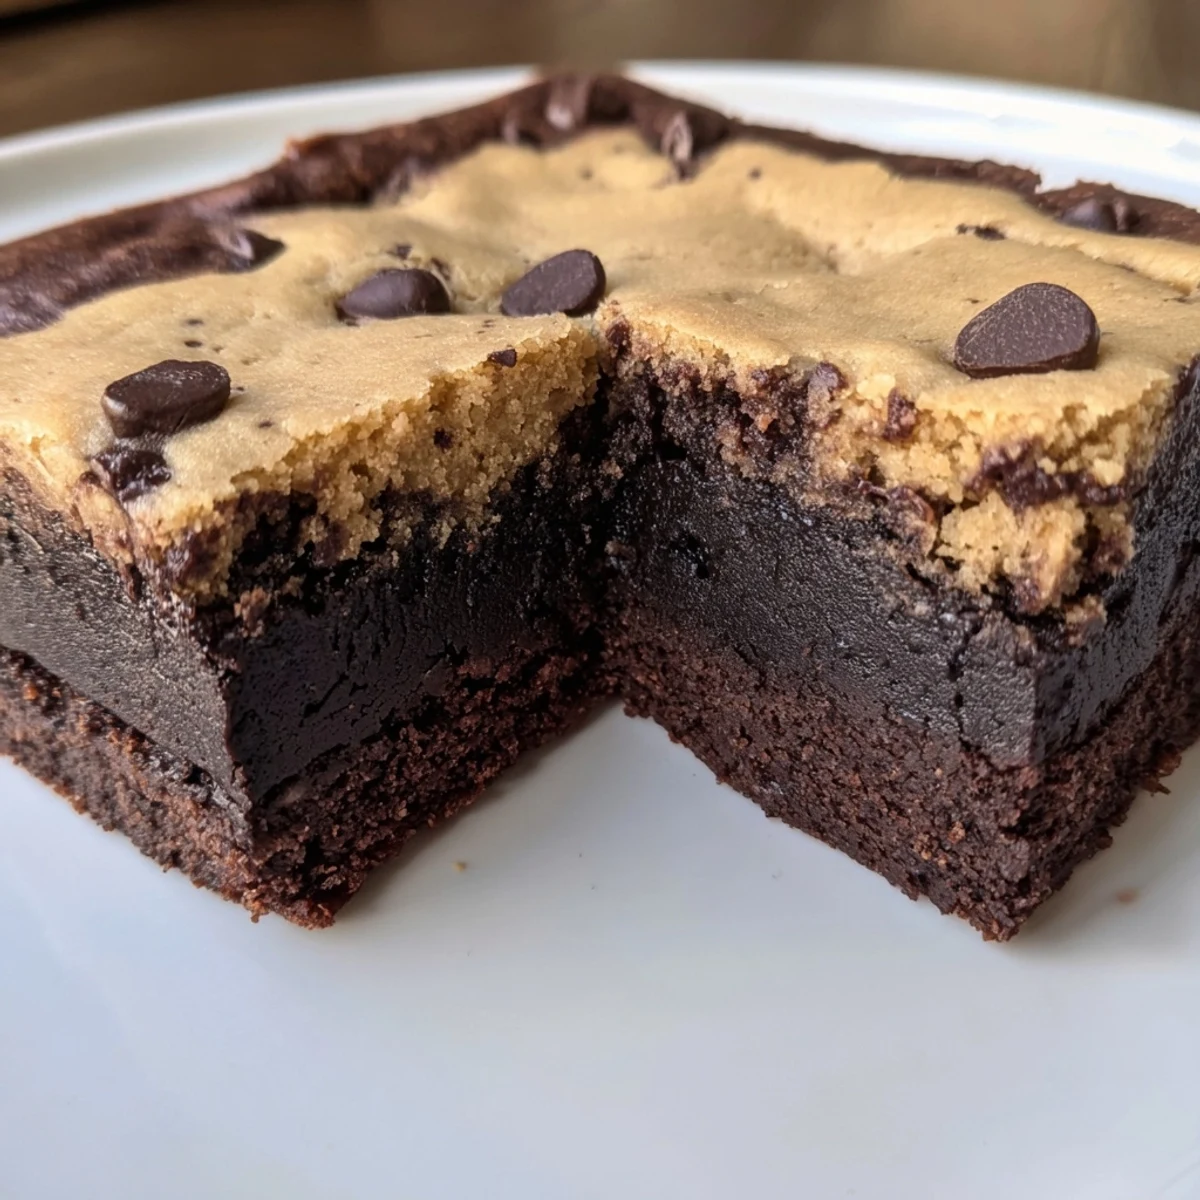
Save These indulgent double-layer treats combine the best of both worlds: a rich, fudgy dark chocolate brownie base topped with a chewy golden chocolate chip cookie layer. Made entirely plant-based with coconut oil and vegan butter, each square delivers deep chocolate flavor and satisfying texture contrast.
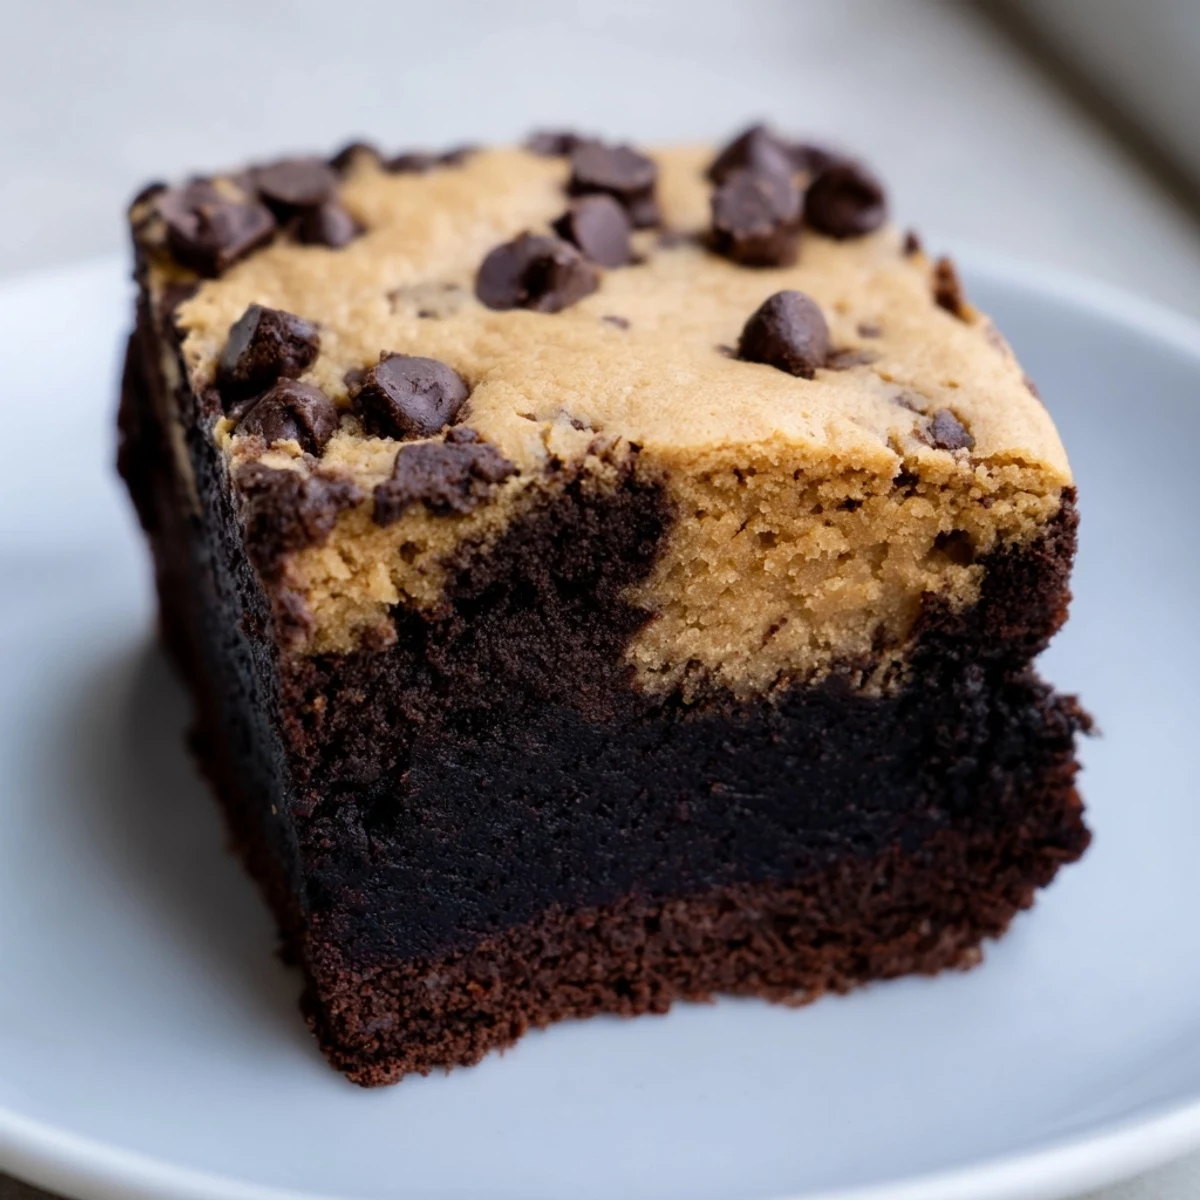
The brownie layer uses unsweetened cocoa powder and brown sugar for intense chocolate depth, while the cookie dough features creamed vegan butter and both brown and granulated sugars for that classic chewy crisp. Both layers are loaded with vegan dark chocolate chips for extra chocolate pockets throughout.
Bake time is key here—30-35 minutes yields a golden cookie top with a slightly moist brownie center. Cool completely before slicing to get clean 12 squares. Serve warm with vegan ice cream or add walnuts for crunch.
The first time I made these double layer brookies, my kitchen smelled like chocolate heaven for hours. My roommate kept wandering in, asking if they were done yet, which honestly made the wait even harder. When we finally cut into them that evening, seeing those two distinct layers—fudgy brownie on bottom, chewy cookie on top—felt like magic.
I brought these to a potluck last summer, and my friend Sarah actually gasped when she bit into hers. She's been vegan for years and said she'd missed that real brookie experience—now she texts me every few months asking for the recipe. Watch how quickly they disappear at gatherings.
Ingredients
- All-purpose flour (2 cups total split): The foundation for both layers, providing structure without making either layer too dense or cakey
- Cocoa powder (1/2 cup): Use unsweetened Dutch-processed for that deep, intense chocolate flavor in the brownie base
- Brown sugar (1 3/4 cups total): The moisture content keeps both layers tender and creates that irresistible chewy texture
- Baking powder and baking soda: Just enough lift to prevent either layer from becoming too dense or flat
- Salt (1/2 tsp total): Crucial for balancing all that sugar and making the chocolate flavor pop
- Coconut oil or vegan butter (3/4 cup total): The fat that carries all those flavors and creates that rich, indulgent mouthfeel
- Plant milk (1/2 cup total): Unsweetened almond, soy, or oat milk works beautifully to bring everything together
- Vanilla extract (2 tsp): Never skip this—its the aromatic bridge between brownie and cookie flavors
- Vegan chocolate chips (1 1/4 cups total): The good stuff matters here—dark chocolate chips with at least 60% cacao make all the difference
Instructions
- Preheat and prep your baking vessel:
- Set your oven to 350°F and line an 8x8 inch pan with parchment paper, letting the paper hang over the sides for easy removal later.
- Whisk together the brownie foundation:
- In a medium bowl, combine flour, cocoa powder, brown sugar, baking powder, and salt until everything is evenly distributed and no cocoa lumps remain.
- Bring the brownie batter together:
- Pour in melted coconut oil, plant milk, and vanilla, then fold gently until just combined—do not overmix or you'll lose that fudgy texture we're after.
- Add chocolate to the chocolate:
- Fold in those dark chocolate chips, then press the brownie batter into your prepared pan using the back of a spoon to create an even layer.
- Cream the cookie base:
- In a separate bowl, beat softened vegan butter with both sugars until fluffy and lighter in color—this usually takes 2 to 3 minutes of serious mixing.
- Build the cookie layer:
- Mix in plant milk and vanilla, then add flour, baking soda, and salt, stirring only until the flour disappears and you have a thick dough.
- Layer on the chocolate chips:
- Fold in the remaining chocolate chips, reserving a handful to press onto the very top for that professional bakery look.
- Assemble the magic:
- Drop spoonfuls of cookie dough over the brownie layer, then gently spread it out using wet hands or a spatula—go slowly so the layers don't swirl together.
- Bake until golden perfection:
- Slide the pan into the oven for 30 to 35 minutes, watching for that golden top and checking for moist crumbs on a toothpick inserted in the center.
- Exercise the hardest patience:
- Let the brookies cool completely in the pan—seriously, at least an hour—so both layers set properly and you get clean, gorgeous squares when you slice.
 Save
Save Last winter my neighbor texted me at 9 pm asking what smelled so good. I ended up bringing over a warm square, and she sat on her porch in the snow eating it, texting me afterwards that it was the best thing she'd eaten in months. Sometimes food is just that powerful.
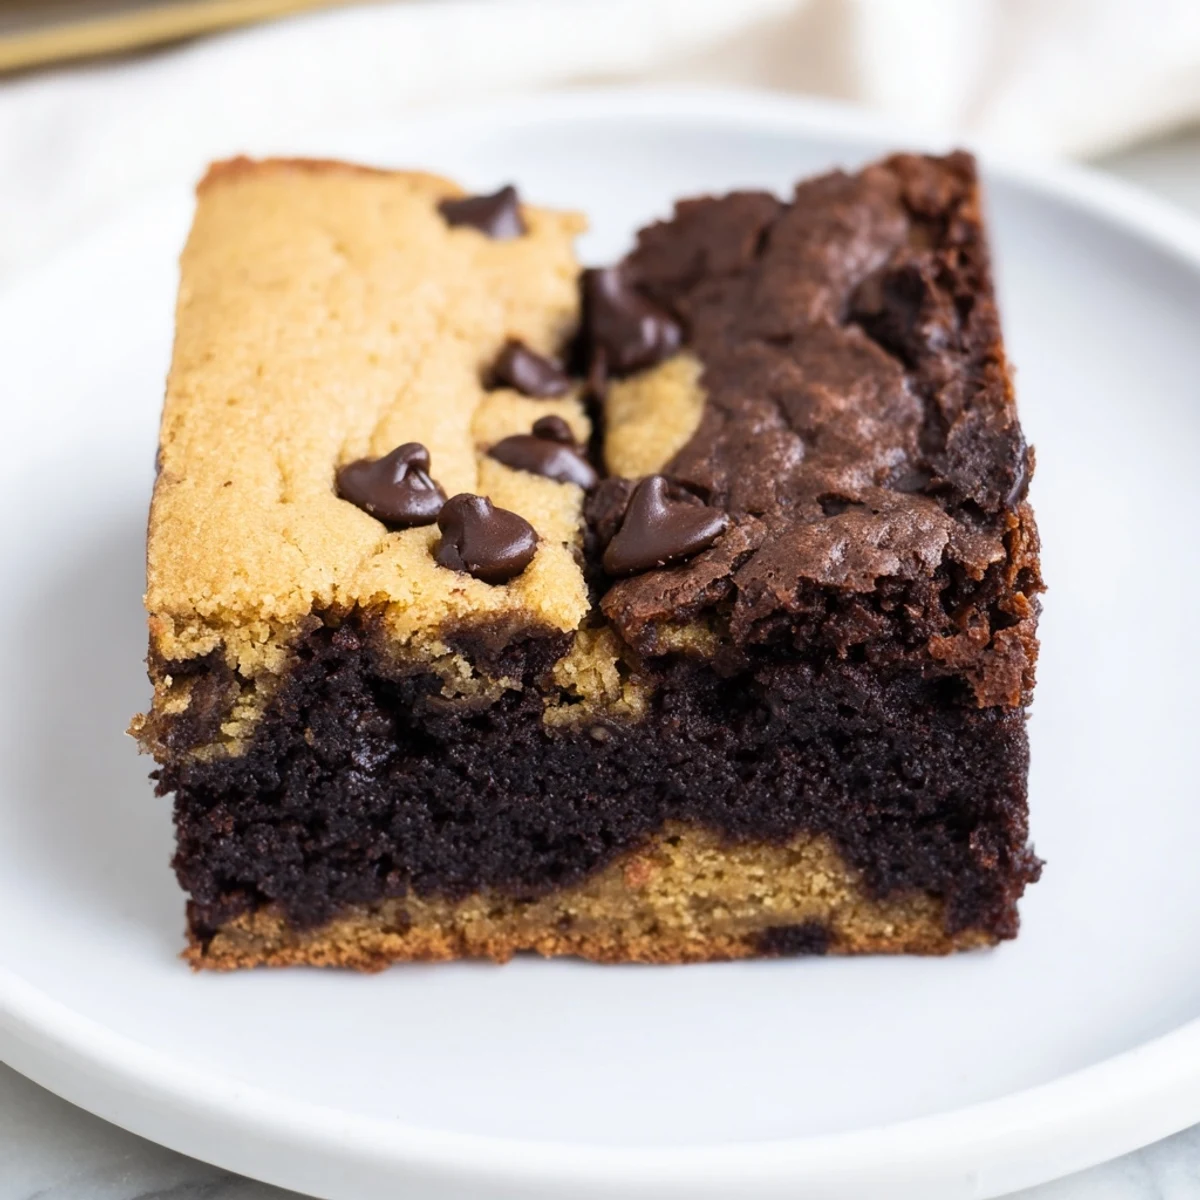
Getting the Layer Balance Right
The ratio between brownie and cookie layers matters more than you might think. Too much brownie batter and you lose that crisp cookie topping, but too much cookie dough and the whole thing becomes too cakey. The 8x8 pan size is crucial here—using a larger pan spreads both layers too thin and they bake up dry and sad.
Make-Ahead Magic
These brookies actually taste better the next day, once the flavors have had time to mingle and the moisture redistributes between the layers. I often bake them in the evening, let them cool overnight, and slice them the following morning. Store them airtight at room temperature for up to 5 days, or freeze individual squares wrapped tightly for those emergency dessert moments.
Customization Ideas
Swap in espresso powder for mocha brookies, add chopped walnuts or pecans to either layer, or use white chocolate chips in the cookie layer for extra contrast. The base recipe is forgiving, so you can play around while keeping the layer ratios intact.
- Add a teaspoon of cinnamon to the cookie layer for warmth
- Press extra chocolate chips into the surface before baking for that bakery style look
- Serve slightly warmed with vegan vanilla ice cream for absolute maximum indulgence
 Save
Save There's something deeply satisfying about a dessert that literally gives you two treats in one bite. Hope these bring as much joy to your kitchen as they have to mine.
Recipe FAQs
- → Can I make these brookies gluten-free?
-
Yes, substitute the all-purpose flour with a 1:1 gluten-free flour blend. The texture remains fudgy and chewy, though the crumb may be slightly softer due to the absence of gluten.
- → How do I know when the brookies are done baking?
-
Insert a toothpick in the center—it should come out with a few moist crumbs but not wet batter. The top should be golden and set, while the edges may pull slightly from the pan.
- → Can I use different plant-based milks?
-
Absolutely. Almond, soy, oat, or even coconut milk work well. Choose unsweetened varieties to maintain the perfect sweetness balance in both layers.
- → How should I store these double-layer bars?
-
Store in an airtight container at room temperature for up to 3 days. For longer freshness, refrigerate for up to a week. They can also be frozen for up to 3 months.
- → Can I prepare the layers ahead of time?
-
You can prepare both batters separately and refrigerate for up to 24 hours before baking. Let them come to room temperature briefly for easier spreading, then proceed with baking as directed.
- → What's the best way to slice clean squares?
-
Cool completely in the pan before slicing. Use a sharp knife and wipe clean between cuts. For extra neat squares, chill the pan in the refrigerator for 30 minutes before cutting.