 Save
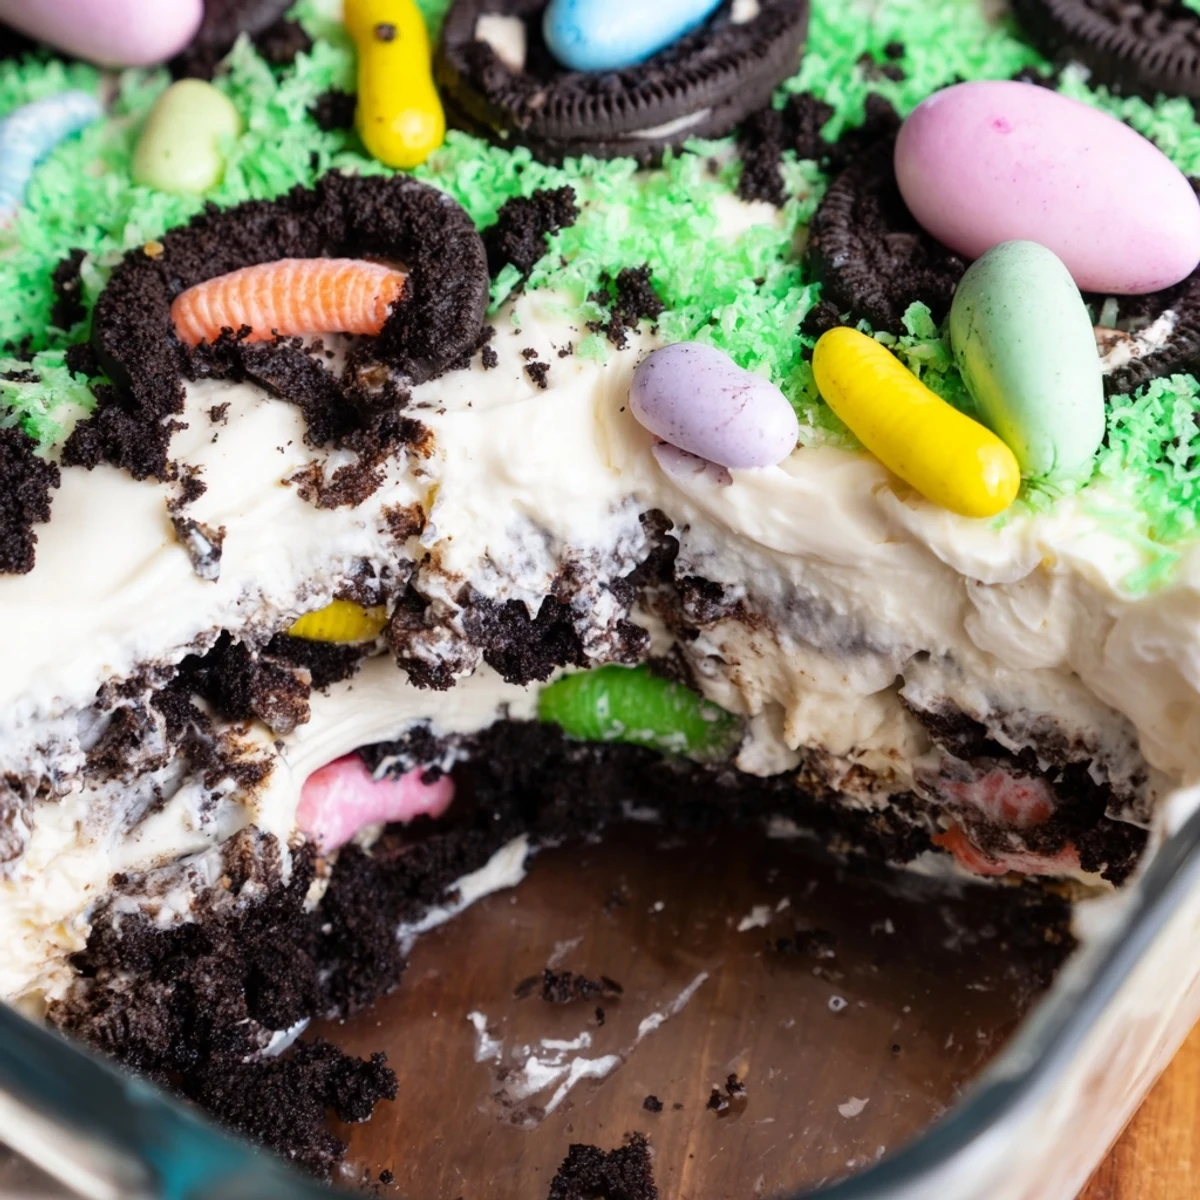
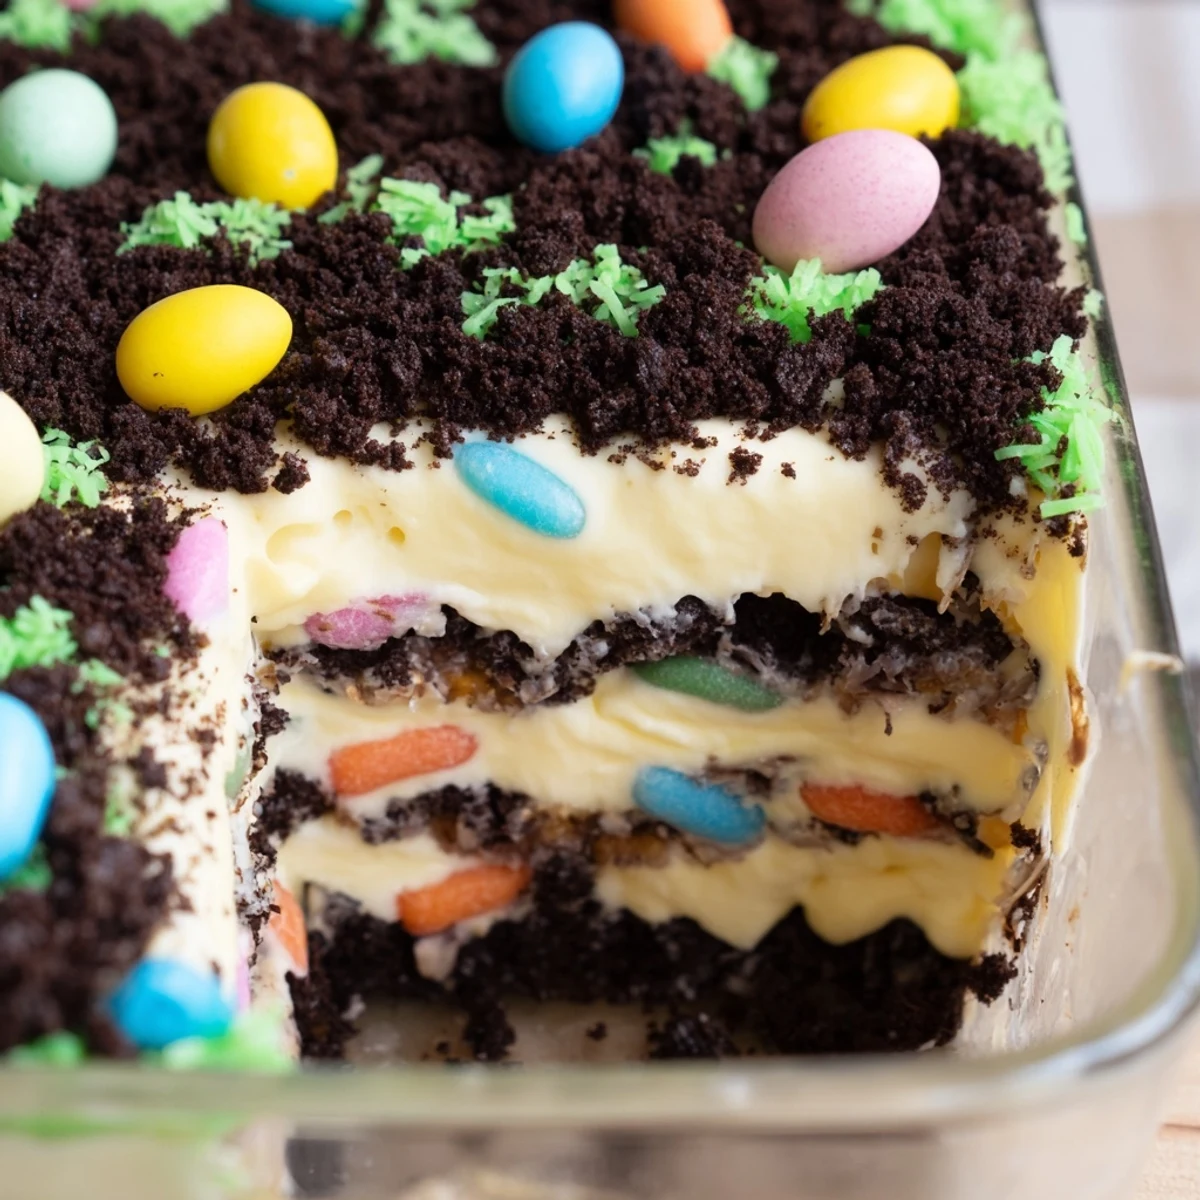
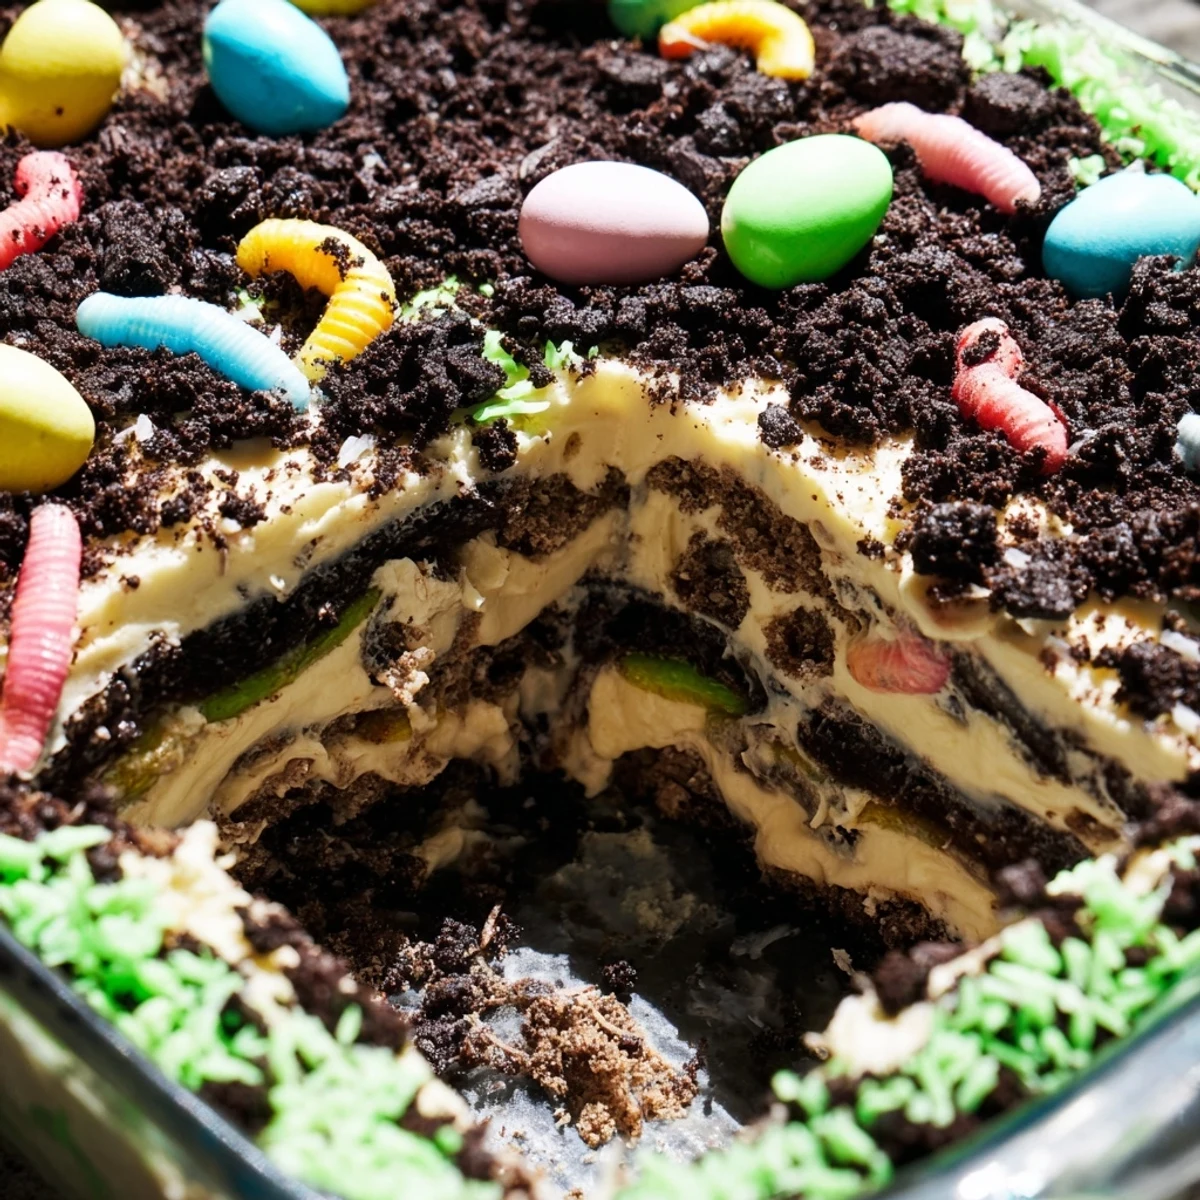
Save This whimsical no-bake treat combines velvety cream cheese pudding with layers of chocolate cookie crumbs and playful gummy worms. The creamy mixture blends softened cream cheese, butter, powdered sugar, instant vanilla pudding, and whipped topping into a smooth, luscious filling. Simply crush Oreos into fine dirt-like crumbs, layer them in a casserole dish with the creamy mixture, and top with gummy worms, pastel candy eggs, and green-dyed coconut. After chilling for two hours, you'll have a festive dessert that looks like a garden bed—perfect for Easter gatherings and spring celebrations.
The first time my cousin brought this to our Easter potluck, my aunt thought someone had accidentally dropped a potted plant on the dessert table until she saw the gummy worms peeking through the chocolate dirt. Now it is the one dish my niece actually asks to help make every spring, mostly because she takes her job as head worm placement strategist very seriously.
Last year I made the mistake of telling the kids we were having garden soil for dessert and the look on my brothers face was absolutely worth the dramatic pause before I revealed the gummy worms. Now it is become our family little April Fools tradition that somehow tastes even better when everyone pretends to be skeptical.
Ingredients
- Cream cheese: Make sure this is properly softened or you will end up with tiny lumps that no amount of mixing will fix
- Unsalted butter: Room temperature butter blends beautifully into the cream cheese for that silky smooth base
- Powdered sugar: This sweetens the cream layer without adding any grainy texture
- Instant vanilla pudding mix: Do not try to use cook and serve pudding here, it needs to be instant for the right consistency
- Cold whole milk: Using cold milk helps the pudding set up properly and gives the richest flavor
- Whipped topping: Thaw this completely in the fridge so it folds in without melting your cream mixture
- Chocolate sandwich cookies: A family size package gives you plenty of dirt for generous layers
- Gummy worms: Get more than you think you need because some always disappear during assembly
- candy coated eggs: These add such a perfect pop of spring color nestled in the dirt
- Green dyed coconut: A few drops of food coloring in a bag makes the most convincing grass
Instructions
- Crumble your cookies:
- Pulse the sandwich cookies in a food processor until they look like rich dark soil, or let the kids smash them in a bag with a rolling pin for maximum fun
- Build the creamy base:
- Beat the softened cream cheese and butter until they are light and fluffy, then gradually work in the powdered sugar until everything is smooth
- Prepare the pudding:
- Whisk the instant pudding mix with cold milk in a separate bowl and let it sit for about 2 minutes until it thickens nicely
- Combine the fillings:
- Fold the thickened pudding into your cream cheese mixture, then gently incorporate the whipped topping until no white streaks remain
- Layer it up:
- Spread half of your cookie crumbs across the bottom of a 9x13 inch dish, spoon all that creamy filling on top, then cover it completely with the remaining dirt
- Add the fun stuff:
- Tuck gummy worms partly into the dirt so they look like they are crawling out, scatter candy eggs around, and finish with patches of green coconut grass
- Chill completely:
- Cover the dish and refrigerate for at least 2 hours so all the flavors can meld together and the layers can set up properly
 Save
Save Watching my dad hesitate before taking his first bite of garden dessert, then immediately go back for a second helping with chocolate crumbs on his chin, has become one of those Easter moments I look forward to all year.
Making It Your Own
I once made individual servings in clear mason jars for a school function and they were the hit of the party. Kids love seeing the layers from the side and it eliminates the debate over who gets the corner piece with the most worms.
The Grass Situation
Dyeing coconut is easier than it seems and adds such a realistic touch. Just toss shredded coconut with a few drops of green food coloring in a zip top bag and shake until every strand is coated.
Timing Is Everything
This is one of those rare desserts that actually tastes better after sitting overnight. The cookies soften slightly and start to meld with the cream layers in the most incredible way.
- Make it the night before your celebration for the best texture
- Reserve a handful of cookie crumbs to refresh the top just before serving
- Push some gummy worms down deep while others stay on top for a 3D effect
 Save
Save There is something wonderful about serving a dessert that makes adults giggle and kids feel like they are getting away with something. Happy Easter digging.
Recipe FAQs
- → Can I make Easter dirt cake casserole ahead of time?
-
Yes! This no-bake dessert actually improves after chilling. You can prepare it up to 24 hours in advance and keep it refrigerated until serving. The flavors meld together beautifully, and the texture remains perfect.
- → What if I don't have a food processor for crushing cookies?
-
No problem! Place the Oreos in a zip-top bag and crush them with a rolling pin or meat mallet. You can also use a blender or pulse them in small batches in your mixer. The goal is fine, dirt-like crumbs.
- → Can I customize the decorations for Easter?
-
Absolutely! Beyond gummy worms and candy eggs, try adding pastel sprinkles, edible flowers, or chocolate bunnies. The green-dyed coconut creates grass-like effects, while colorful peeps make adorable toppers.
- → How long will leftovers stay fresh?
-
Store covered in the refrigerator for up to 4-5 days. The cookie crumbs may soften slightly over time, but the creamy layers remain delicious. Avoid freezing as the texture changes when thawed.
- → Can I make this dessert gluten-free?
-
Yes! Simply substitute gluten-free chocolate sandwich cookies for the Oreos. Ensure your instant pudding and other ingredients are certified gluten-free. The taste and texture remain equally delightful.
- → What's the best way to dye coconut green?
-
Place shredded coconut in a resealable bag with a few drops of green food coloring. Seal and massage until evenly distributed. Add color gradually until you reach your desired grass-like shade.