Save
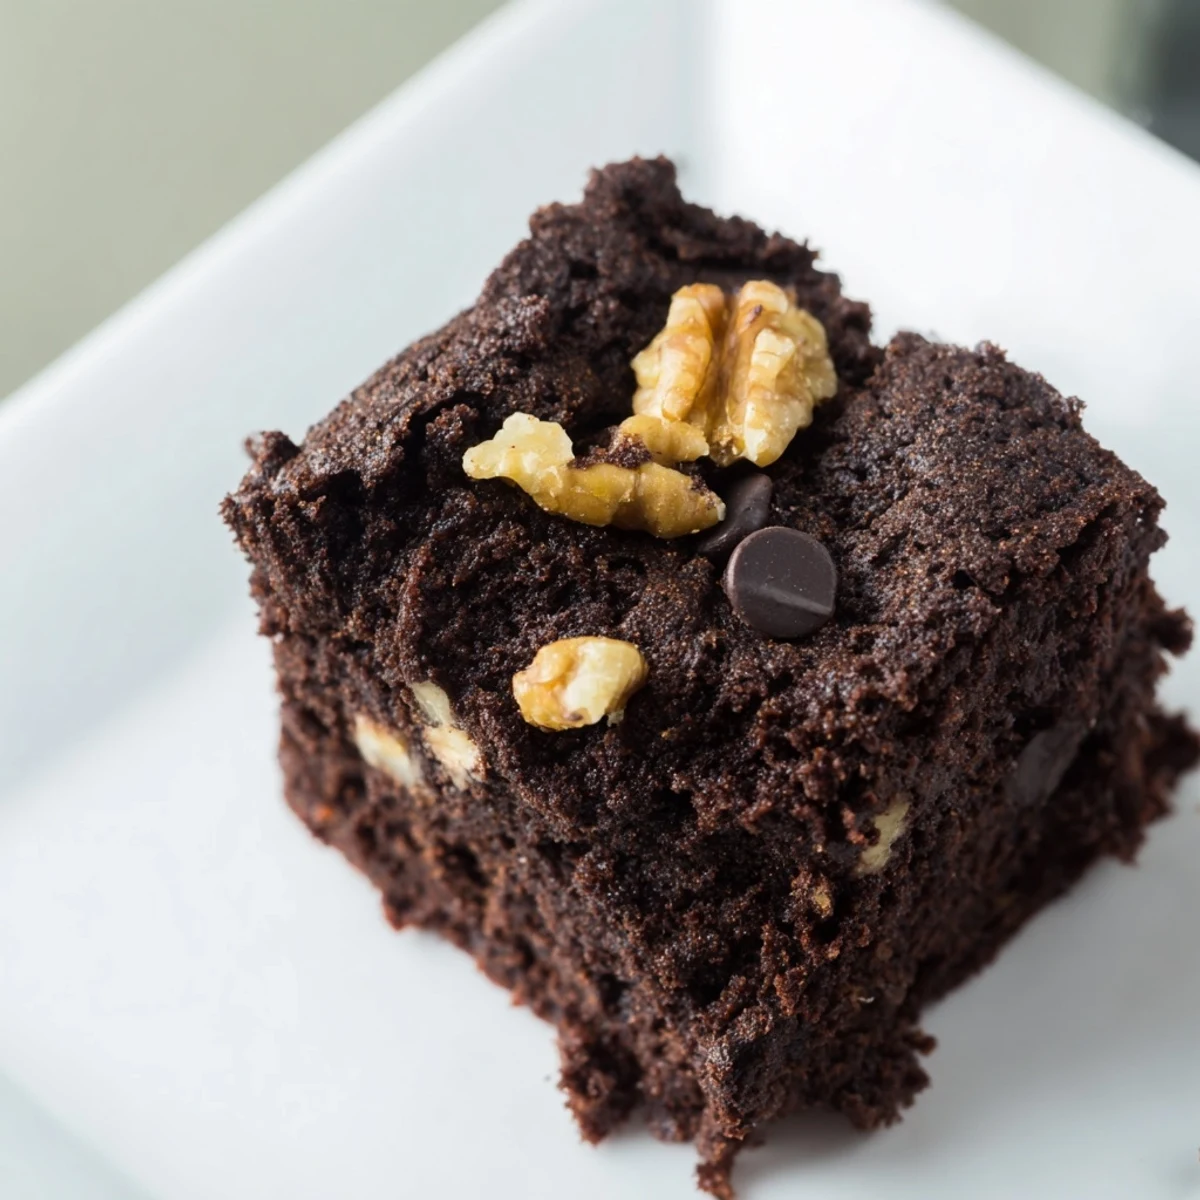
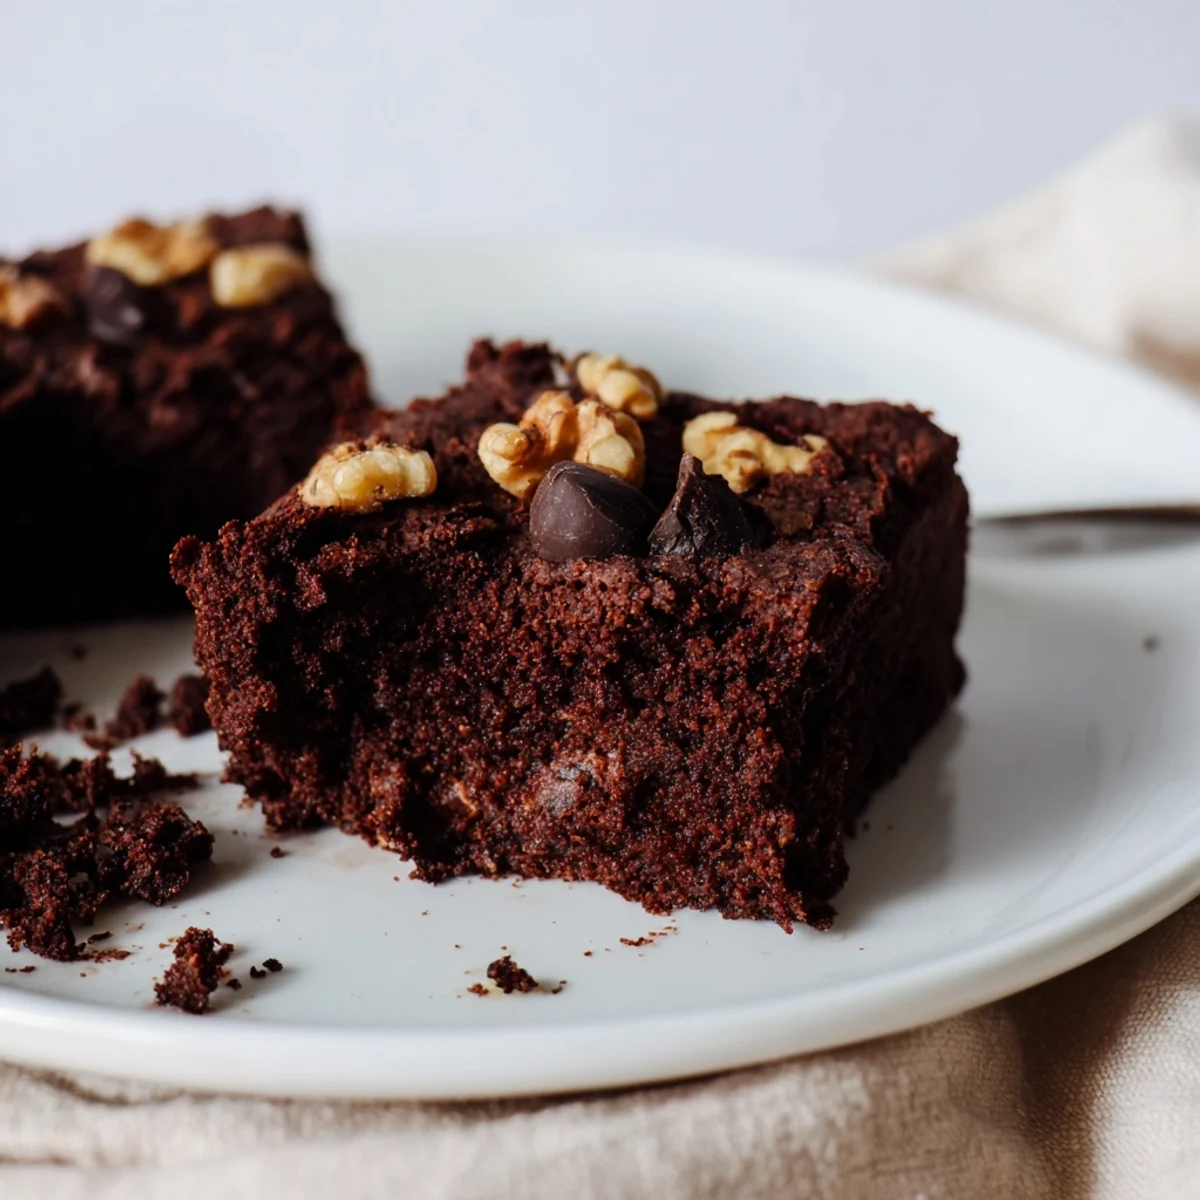
Save These brownies use finely ground almond flour blended with cocoa and a touch of baking powder to create a moist, fudgy texture. Melted butter and a mix of granulated and brown sugar provide sweetness and richness, while eggs and vanilla extract add depth and structure. Folded in dark chocolate chips and optional nuts boost indulgence and crunch. Baked until just set, they deliver a decadent, gluten-free treat perfect for any occasion.
My kitchen filled with the smell of chocolate one quiet Sunday morning when I realized I'd run out of regular flour but had a bag of almond flour gathering dust in the pantry. What started as improvisation turned into something I now make constantly—these brownies are so fudgy and rich that nobody notices the gluten-free swap, and honestly, I stopped mentioning it because people assume I spent hours on them. The best part? They take less time than driving to a bakery.
I brought these to a potluck last spring where a friend had just gone gluten-free, and I watched her face when she realized she could actually have dessert without feeling left out. She asked for the recipe immediately, then called me a week later saying she'd made them twice already. That moment stuck with me—realizing that a small substitution can open up a whole world of possibility for someone.
Ingredients
- Almond flour, finely ground: The real MVP here—it adds moisture and a subtle nutty depth that you'll taste in the background, making these brownies feel more sophisticated than they are.
- Unsweetened cocoa powder: Don't skimp on quality here; a good cocoa powder is the difference between these tasting homemade and tasting like a box mix.
- Baking powder: Just enough to give them structure without making them cake-like, which is the hardest balance to strike with gluten-free baking.
- Salt: A pinch brings out all the chocolate flavor and balances the sweetness in a way that makes people lean in for another bite.
- Unsalted butter or coconut oil: Melted butter gives them that glossy, fudgy crumb; coconut oil works beautifully if you're avoiding dairy and adds a subtle richness.
- Granulated and brown sugar: The combination of both gives you sweetness with depth—the brown sugar brings molasses notes that make these taste less one-dimensional.
- Eggs at room temperature: This is the detail that changes everything; cold eggs won't incorporate properly and you'll end up with a grainier texture.
- Vanilla extract: Pure vanilla, never imitation—it's worth the extra cost because it rounds out the chocolate instead of adding a chemical note.
- Dark chocolate chips: Verify they're certified gluten-free because some manufacturers use shared equipment; the chocolate is the soul of this recipe so choose something you'd actually eat on its own.
- Walnuts or pecans, optional but recommended: They add a textural contrast that makes each bite more interesting and their earthiness plays beautifully against the chocolate.
Instructions
- Set your oven and prep your pan:
- Heat to 350°F and grease your 8x8 pan well or line it with parchment—this prevents the edges from sticking and makes cutting cleaner. If you use parchment, leave some overhang so you can lift the whole batch out and cut on a cutting board instead of wrestling with a hot pan.
- Combine your dry ingredients:
- Whisk together the almond flour, cocoa powder, baking powder, and salt in a medium bowl until no streaks of cocoa remain and everything looks evenly distributed. This step seems simple but it prevents pockets of dry cocoa that taste bitter when you bite into them.
- Create your wet base:
- In a larger bowl, whisk the melted butter, both sugars, eggs, and vanilla until the mixture looks glossy and slightly pale—you're essentially making a mousse that will carry all the other flavors. Don't skip the glossy stage; it means the sugar is dissolving and the eggs are starting to emulsify, which creates that fudgy texture.
- Marry wet and dry:
- Pour the dry ingredients into the wet and stir just until combined—when you see no more flour streaks, stop; overmixing develops gluten even though there's no gluten here, and it makes the texture tough. This is genuinely the easiest part but also where patience pays off.
- Fold in your mix-ins:
- Add the chocolate chips and nuts gently, folding them in with a spatula so they're distributed evenly and you don't deflate any air you've created. The folding motion is gentler than stirring and preserves the texture you've built up to this point.
- Transfer and bake:
- Pour everything into your prepared pan and smooth the top with your spatula so they bake evenly and look finished when they come out. Bake for 23–26 minutes—you're aiming for the center to be just set when you press it gently, with a toothpick coming out with a few moist crumbs clinging to it.
- Cool before cutting:
- This is the hardest part because they smell unbelievable, but let them cool completely in the pan; cutting them while warm will create crumbles instead of squares. Once cooled, you can cut them and actually get neat portions.
 Save
Save The real magic happened when my neighbor, who's dealt with celiac disease for years, tasted these and got quiet for a moment. She said, 'This is just a brownie,' and I realized that was the highest compliment—no qualifications, no 'for gluten-free' asterisk. It wasn't a special diet hack; it was genuinely good food that happened to be safe for her to eat.
Making Them Extra Fudgy
If you like your brownies on the almost-gooey side, pull them out at the 23-minute mark and check the center—it should jiggle just slightly when you gently shake the pan. This is where underbaking comes into play; most people overbake because they're nervous, but that's what turns a luxury into a sad, dry square. Trust your instincts and remember that they firm up slightly as they cool, so that slight wobble is actually perfect.
Dairy-Free and Other Swaps
Coconut oil works as a one-to-one replacement for butter and gives these a slightly different richness—some people prefer it because it doesn't feel as heavy. If you go this route, make sure the coconut oil is refined so it doesn't add a strong coconut flavor that might clash with the chocolate. You can also experiment with adding a tiny pinch of espresso powder or instant coffee to deepen the chocolate without making them taste like coffee.
Serving and Storage Ideas
These brownies actually taste better the next day when the flavors have settled and the texture becomes even more fudgy, so making them ahead of time is genuinely a strategy, not a compromise. Store them in an airtight container at room temperature for up to four days, and they'll stay soft and delicious—if they last that long.
- Serve with fresh berries on top for brightness that cuts through the richness.
- A scoop of vanilla or salted caramel ice cream melting into a warm brownie is a moment worth planning your evening around.
- Dust the top with powdered sugar if you want them to look a little fancier without actually doing more work.
 Save
Save These brownies proved to me that baking without gluten doesn't mean baking without joy or flavor—it just means rethinking instead of accepting limitations. Every time I make them, I'm reminded that the best recipes come from working with what you have instead of waiting for what you think you need.
Recipe FAQs
- → Can I substitute almond flour with other flours?
-
Almond flour offers moisture and a rich texture; substituting with other flours may affect fudginess and density.
- → How to make these brownies dairy-free?
-
Replace melted butter with coconut oil to keep the brownies moist and dairy-free.
- → What is the baking time to achieve fudgy brownies?
-
Baking for 23–26 minutes at 350°F ensures a moist, fudgy center. Slightly underbaking enhances fudginess.
- → Are nuts necessary for the texture?
-
Nuts add crunch and contrast but are optional; brownies remain rich and moist without them.
- → How can I enhance the chocolate flavor?
-
Add a pinch of espresso powder to intensify the chocolate notes without altering texture.