 Save
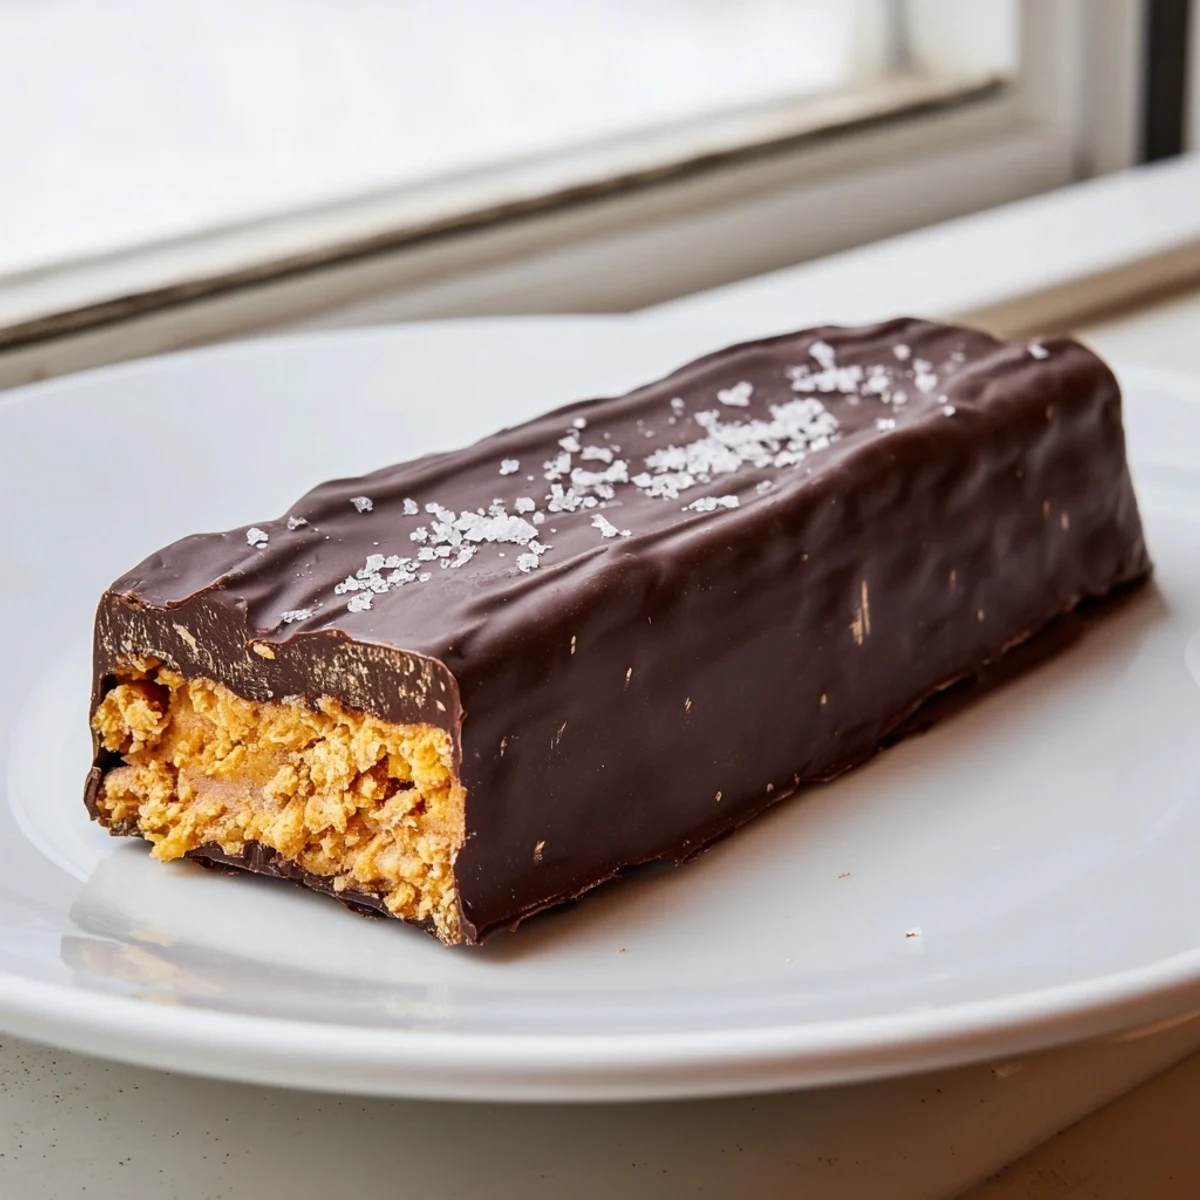
Save These homemade Butterfinger bars deliver all the crunch and nostalgia of the classic candy bar with a wholesome twist. A simple mixture of natural peanut butter, maple syrup, and crushed cornflakes creates that signature crispy peanut butter center.
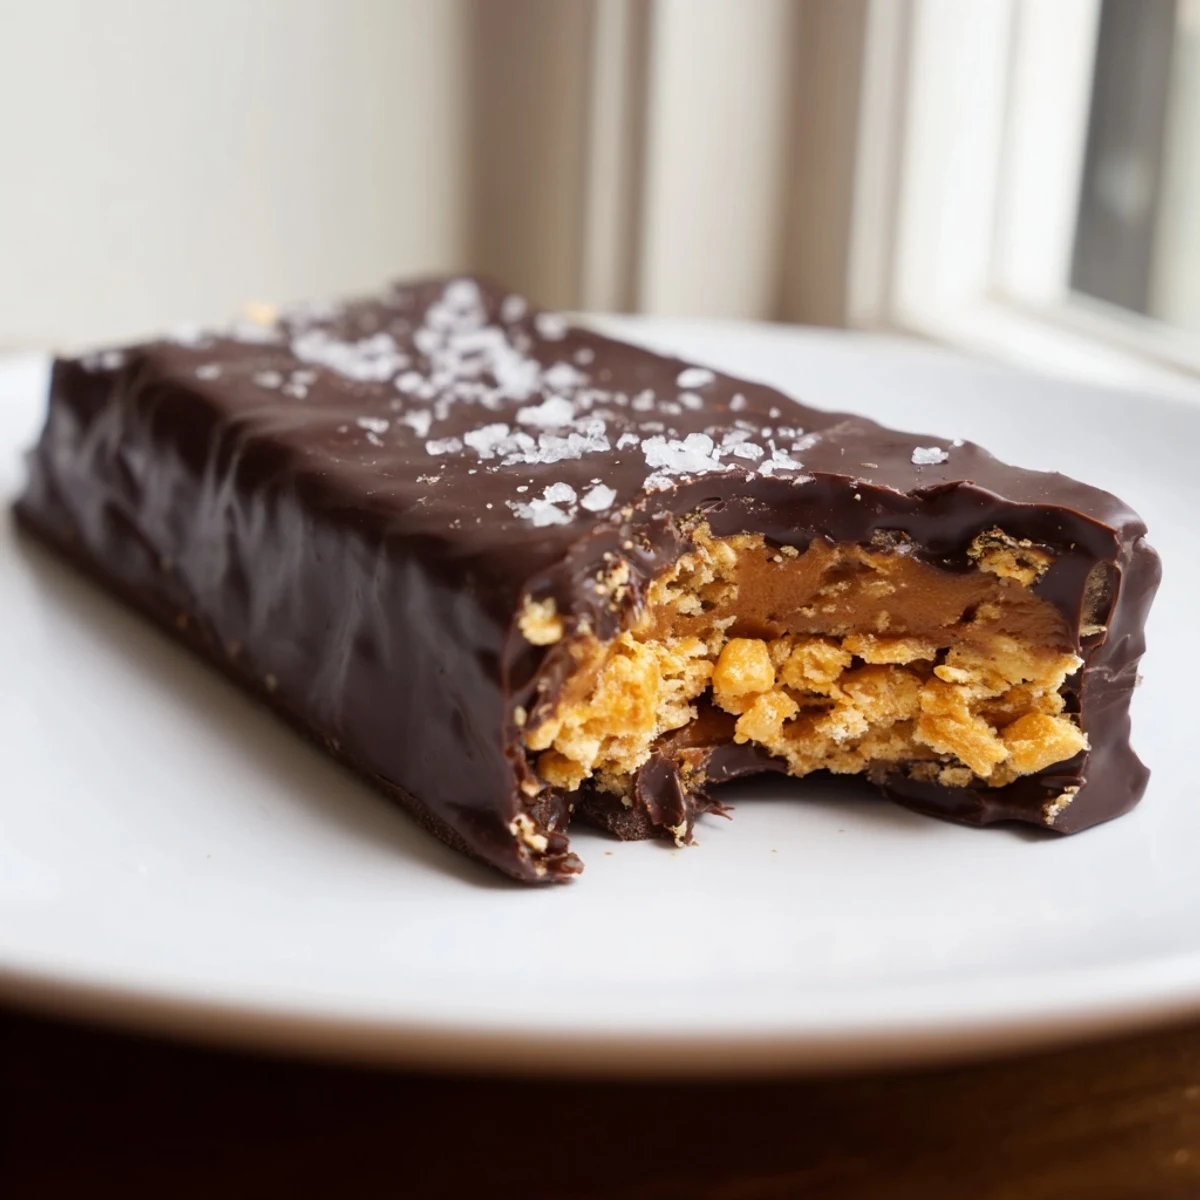
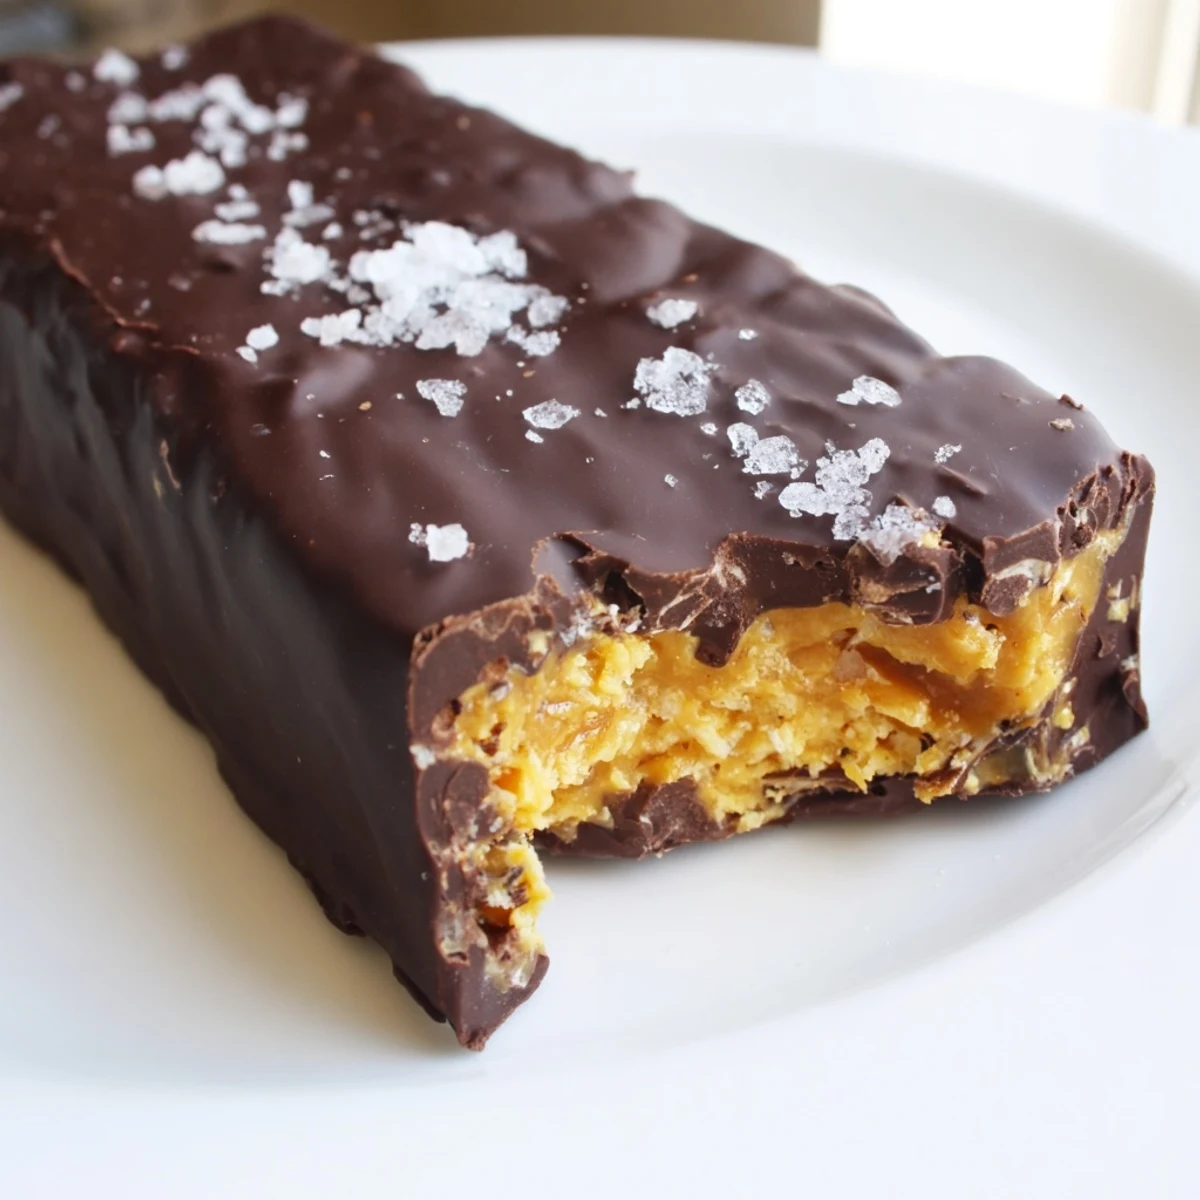
Each bar is fully dipped in melted dark chocolate and sets in the fridge in under 20 minutes. The result is a satisfyingly crunchy, chocolate-coated treat that's lighter than the original.
Ready in about an hour (including chilling time), they're vegetarian, easily made gluten-free and vegan, and yield 16 generous bars perfect for sharing or stashing in the fridge for the week.
The candy aisle at the grocery store always gets me, especially around Halloween when those orange and yellow Butterfinger packages are stacked everywhere. Something about that flaky peanut butter center covered in chocolate is impossible to resist. Last fall I decided to stop resisting and start recreating, but with ingredients I actually felt good about eating. Turns out, cornflakes are the secret to that signature crunch, and you only need a handful of pantry staples to pull it off.
I brought a batch of these to a movie night with friends, fully expecting them to sit next to the store bought candy. They disappeared before the opening credits finished, and my friend Rachel actually paused the movie to ask what bakery I had ordered them from. That reaction never gets old.
Ingredients
- Natural creamy peanut butter (1 cup): Use the kind with just peanuts and salt on the label, since added oils and sugars change the texture of the filling.
- Pure maple syrup or honey (1/2 cup): Maple syrup keeps the bars vegan, while honey adds a warmer floral sweetness, and either one binds the filling together beautifully.
- Vanilla extract (1 teaspoon): A small amount rounds out the sweetness and makes the peanut butter taste more complex.
- Cornflakes (2 cups, lightly crushed): Crush them gently with your hands so you get a mix of shreds and small flakes, which creates the best flaky crunch reminiscent of the real candy bar.
- Sea salt (pinch): Just a pinch in the filling makes the peanut butter sing and balances the sweetness perfectly.
- Dark chocolate chips (1 1/2 cups): Choose a good quality brand you enjoy eating plain, because the chocolate flavor really stands out in every bite.
- Coconut oil (1 tablespoon): This thins the melted chocolate so it coats the bars evenly and gives you that satisfying snap when you bite into one.
Instructions
- Prep your pan:
- Tear off a sheet of parchment paper and press it into an 8x8 inch baking dish, letting the edges hang over the sides like handles for easy removal later.
- Melt the filling base:
- Set a saucepan over medium low heat and stir the peanut butter and maple syrup together until they melt into one smooth, glossy mixture that smells incredible, about 2 to 3 minutes.
- Add flavor and crunch:
- Take the pan off the heat and stir in the vanilla and salt, then gently fold in the crushed cornflakes with a spatula until every flake is coated in that golden peanut butter mixture.
- Press and freeze:
- Spread the mixture into your prepared pan, pressing it down firmly and evenly with your spatula so there are no gaps, then slide it into the freezer for 20 to 30 minutes until it holds together when pressed.
- Cut into bars:
- Lift the slab out using the parchment overhang and set it on a cutting board, then use a sharp knife to slice it into 16 even rectangles, wiping the blade between cuts for clean edges.
- Melt the chocolate:
- Combine the chocolate chips and coconut oil in a microwave safe bowl and heat in 30 second bursts, stirring between each one, until the chocolate is completely smooth and silky with no lumps remaining.
- Coat each bar:
- Drop a bar into the chocolate and flip it with a fork to coat all sides, then lift it out, tap the fork gently against the bowl to shake off excess chocolate, and place it on a parchment lined tray.
- Let them set:
- Slide the tray into the fridge for 15 to 20 minutes until the chocolate shell is firm and glossy, then they are ready to eat or store in an airtight container in the refrigerator.
 Save
Save There is something deeply satisfying about biting into a homemade candy bar that tastes this close to the real thing. My nephew declared these better than the original, and honestly, I might agree with him.
Storage That Actually Works
These bars need to live in the refrigerator because the chocolate softens quickly at room temperature, especially in warmer months. I keep mine in a single layer between sheets of parchment in an airtight container and they stay perfect for about two weeks.
Making Them Your Own
For a vegan version, simply stick with maple syrup and use dairy free chocolate chips, which is what I do most of the time anyway. A sprinkle of flaky sea salt on top of each bar right before the chocolate sets adds a sophisticated touch that makes them gift worthy.
A Few Last Thoughts
You can freeze these bars for up to three months, which means you can always have a stash ready for unexpected guests or sudden sweet cravings. Just let them sit at room temperature for about ten minutes before eating so the chocolate and filling soften slightly.
- If the chocolate seizes while melting, stir in a teaspoon of coconut oil to bring it back to life.
- Use a fork rather than your fingers to dip the bars, it gives you far more control and much less mess.
- Always taste your peanut butter before starting, because bland peanut butter makes bland candy bars.
 Save
Save Every time I make these, I wonder why I ever bought candy bars at the store when homemade tastes this much better. Keep a batch in your fridge and you will always have something sweet worth reaching for.
Recipe FAQs
- → Can I make these bars vegan?
-
Yes, simply use maple syrup instead of honey and choose dairy-free dark chocolate chips. Coconut oil remains the same. Always check your cornflake brand to ensure no animal-derived ingredients are used.
- → How should I store the Butterfinger bars?
-
Store the bars in an airtight container in the refrigerator for up to two weeks. For longer storage, freeze them for up to three months. Let frozen bars thaw in the fridge before enjoying for the best texture.
- → Why are my cornflakes getting soggy?
-
Make sure to fold the cornflakes in gently and avoid over-mixing. Lightly crushing them rather than pulverizing helps maintain crunch. Work quickly once the cornflakes are added, and get the mixture into the freezer promptly to set.
- → Can I use a different type of chocolate for coating?
-
Absolutely. Milk chocolate, semi-sweet, or even white chocolate all work well for dipping. Keep in mind that milk and white chocolate are sweeter, so adjust based on your preference. Dairy-free chocolate chips are also a great option.
- → What can I substitute for cornflakes?
-
Rice Krispies work as a direct substitute for a similar crunch. Crushed pretzels add a salty dimension, and rolled oats can work but will yield a chewier texture. Avoid large flakes or granola clusters as they won't compress well in the pan.
- → Do I need to keep these refrigerated?
-
Yes, refrigeration is recommended. The peanut butter center softens at room temperature, and the chocolate coating may bloom or become sticky. Chilling keeps the bars firm and the chocolate snappy. They taste best served cold or slightly cool.