 Save
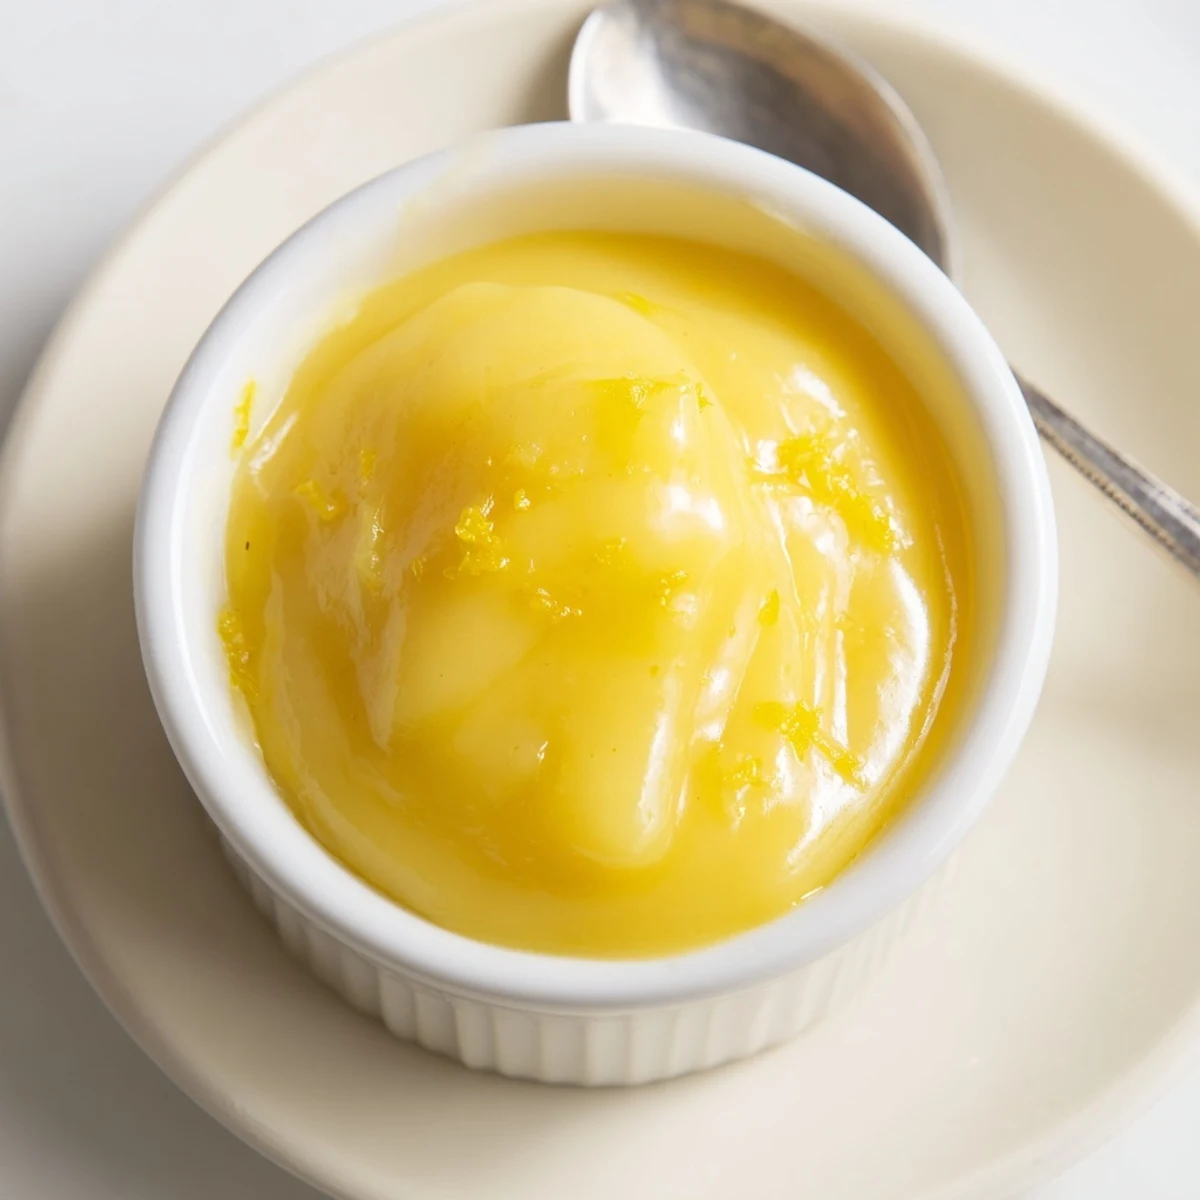
Save Bright lemon zest and juice are combined with sugar and eggs, then gently cooked over simmering water until the mixture thickly coats a spoon. Off the heat, cold butter is whisked in for richness, then the curd is strained for a pillowy-smooth finish. Yields about 2 cups in roughly 20 minutes; cool completely and store in sterilized jars. For a dairy-free option, substitute plant-based butter.
The first time I made lemon curd, I was startled by just how intoxicatingly bright the kitchen smelled—the lemons cut through the air like tiny bursts of summer. There's something oddly satisfying about expertly zesting citrus and watching the little curls pile up, promising punchy flavor to come. I remember my spatula slipping on the rim of the bowl and almost flinging a dollop onto the cat, who maintained a cautious distance. All in all, those simple moments turned an ordinary evening into a mini adventure.
I once whipped this up for an afternoon tea with my sister—we ended up eating it straight from the jar with teaspoons, giggling about how it never made it onto a single scone. There's just something about its silky, sunshiny texture that makes people pause and smile with the first spoonful.
Ingredients
- Large eggs: Using room temperature eggs helps your curd thicken smoothly and without lumps (I've learned this makes all the difference).
- Unsalted butter (cubed): Adding cold, cubed butter off the heat at the end makes the final curd glossy and impossibly silky—don’t rush this step.
- Large lemons (zest and juice): Zesting before juicing is far less messy, and fresh zest is the backbone of great flavor here.
- Granulated sugar: Plain white sugar keeps the curd bright and lets the lemon flavor shine through beautifully.
Instructions
- Whisk the base:
- In a heatproof bowl, whisk together the eggs and sugar until completely blended and pale—it should look smooth and a little frothy.
- Add the citrus:
- Stir in the fresh lemon zest and juice, and take a second to breathe in that sharp, clean aroma.
- Heat things up:
- Set the bowl over a gently simmering pot of water (making sure it doesn’t touch the water), and whisk constantly so you don’t end up with scrambled eggs.
- Watch for thickening:
- Keep whisking until the mixture thickens and coats the back of a spoon—this usually takes about 8 to 10 minutes, and it’s pretty satisfying to see it all come together.
- Butter time:
- Take the bowl off the heat and quickly whisk in the cold butter cubes, piece by piece, until the curd turns smooth, rich, and glossy.
- Strain & cool:
- Pour the curd through a fine-mesh sieve into a clean bowl to catch any bits of zest or egg, then let it cool before transferring to jars.
- Seal & store:
- Once it’s room temperature, spoon it into sterilized jars, seal tightly, and keep refrigerated for up to two weeks.
 Save
Save One gray weekend, I found myself spooning a generous helping of lemon curd onto warm toast at breakfast, windows fogged up from the kettle’s steam. The golden color was a reminder that even simple things can completely brighten up a slow morning.
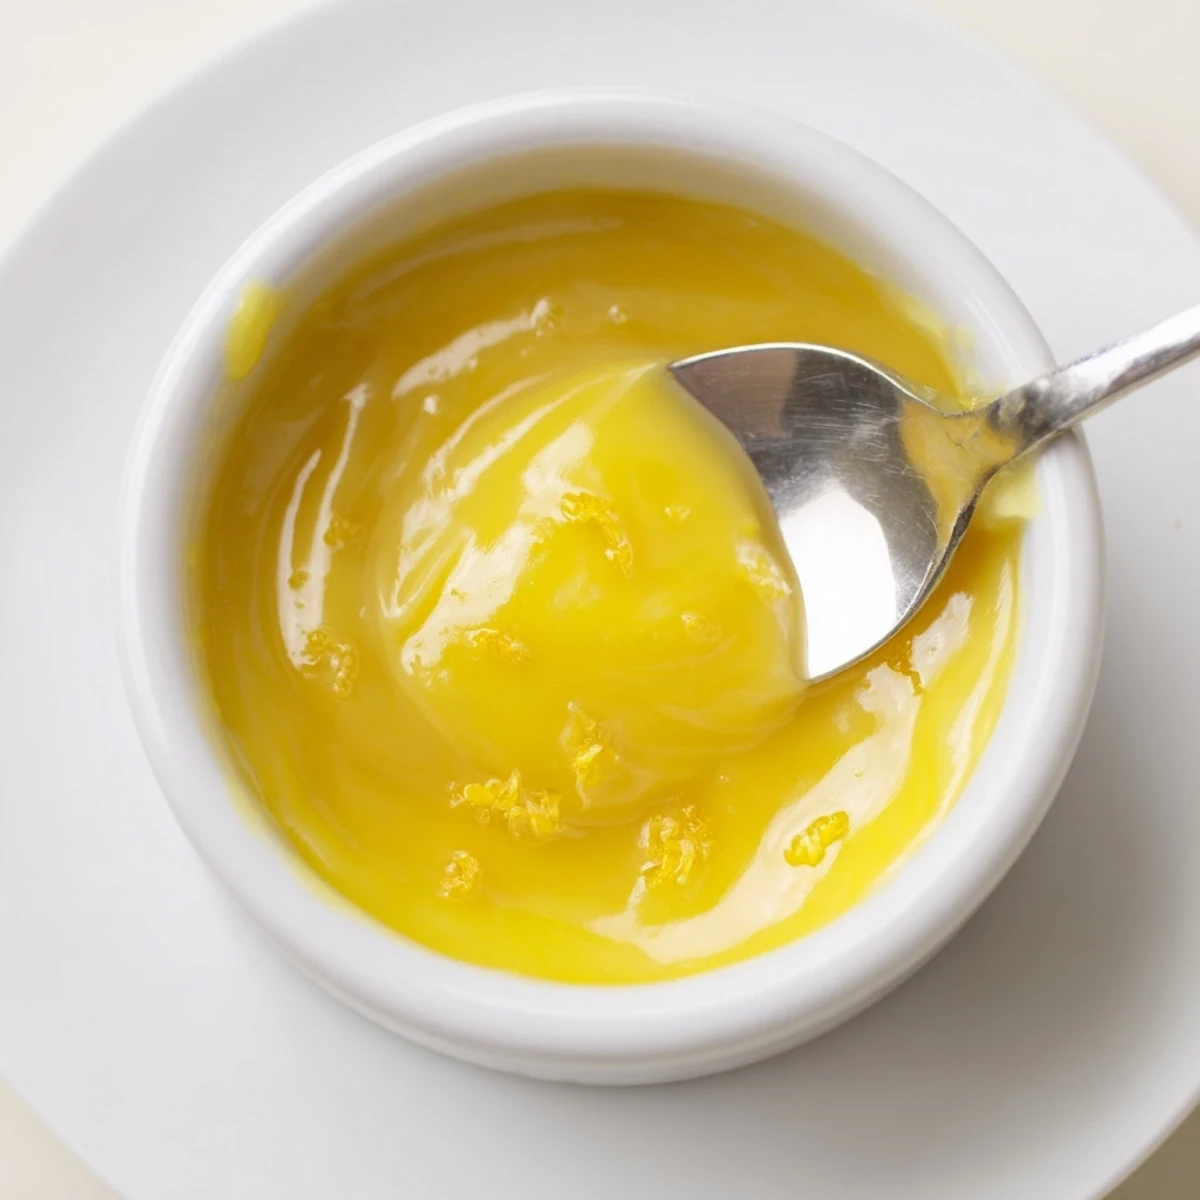
How to Get That Silky Texture
I realized after my first batch that patience, not power, is the trick here—gentle heat and steady stirring keep the curd plush and lump-free, rather than grainy or overcooked. Don’t hike up the heat, even if you're tempted to speed things along, because slow is what creates luxurious results.
Ways to Enjoy Lemon Curd
After making this a few times, I’ve swirled it onto yogurt, layered it in cupcakes, and even gifted little jars for birthdays and holidays. Each way, the curd adds a bright, inviting note that's hard to resist.
Common Mishaps and Quick Fixes
When I got distracted and let the curd overheat once, it went a little grainy—but running it through a sieve twice rescued it completely. If it looks separated, just whisk vigorously as it cools, and it usually comes back together.
- If your curd feels too tart, add a sprinkle more sugar while it's still hot.
- Lemon zest stubbornly sticks to whisks—use a silicone spatula to get every last bit into your bowl.
- Always chill the curd completely before using it as a cake filling so it doesn't ooze.
 Save
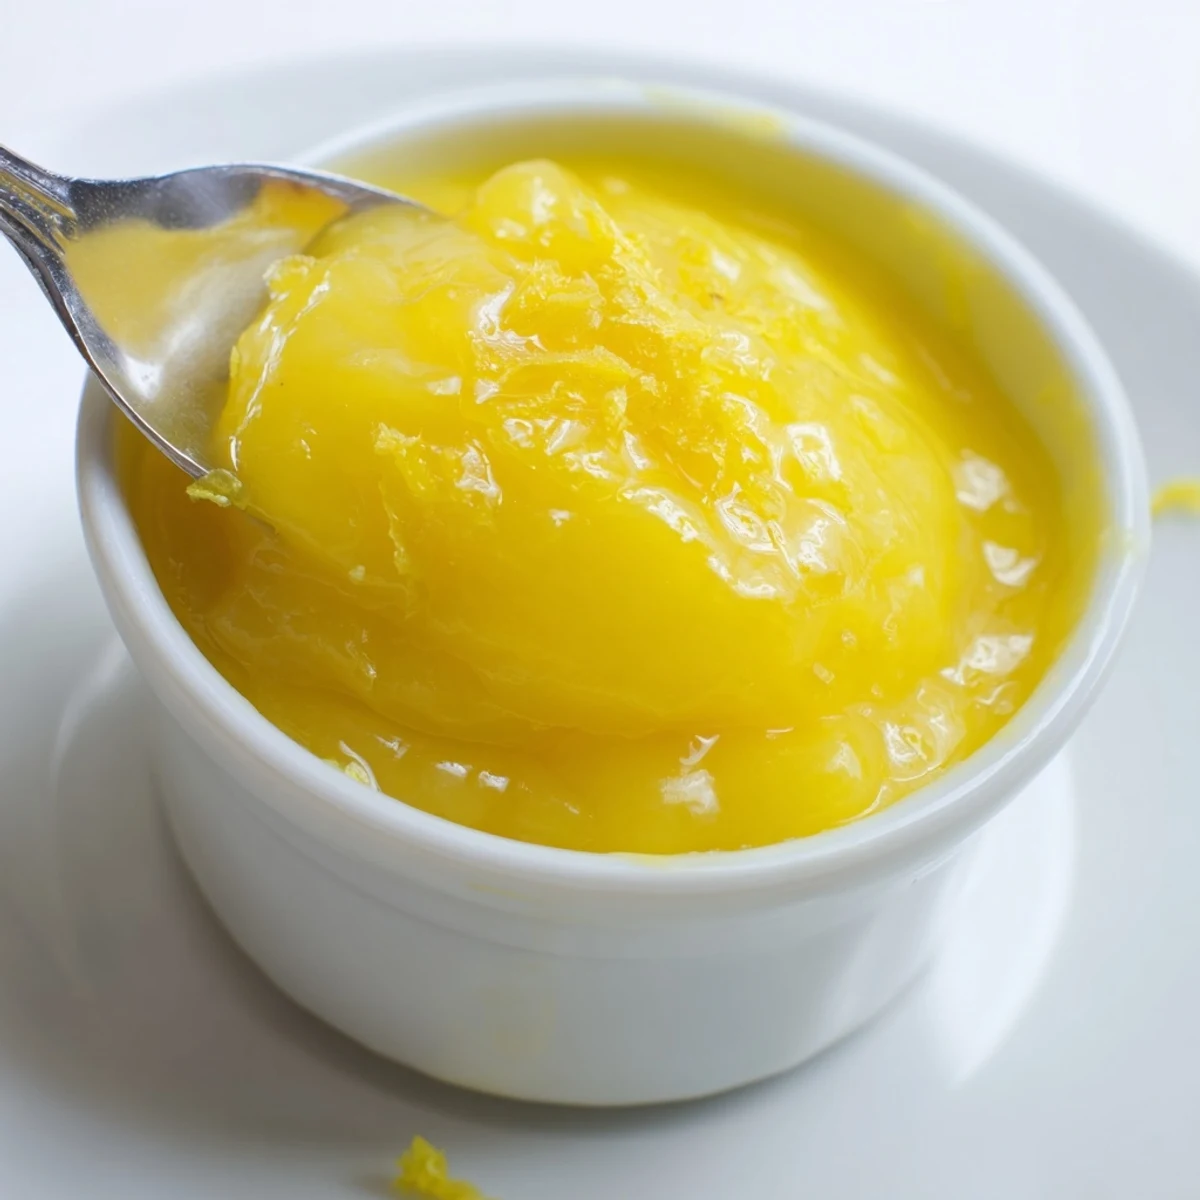
Save There's something quietly luxurious about having homemade lemon curd in the fridge, waiting for whatever sweet craving or occasion comes along. It's pure joy in a jar, and easy enough to revisit any time you want.
Recipe FAQs
- → How do I prevent curd from curdling?
-
Cook over gentle simmering water and whisk constantly to avoid rapid heating. If the mixture thickens unevenly, remove from heat and whisk vigorously; straining will also remove any cooked bits.
- → Can I use bottled lemon juice?
-
Fresh lemon juice gives brighter flavor and better zest aroma. Bottled juice works in a pinch but the result may be less vibrant.
- → How long does it keep in the fridge?
-
Stored in sterilized jars, it keeps well for up to two weeks in the refrigerator. Always use clean utensils to avoid contamination.
- → How can I make it dairy-free?
-
Substitute an equal amount of plant-based butter or margarine; add it off the heat as with regular butter to achieve a smooth, glossy texture.
- → Why strain the curd?
-
Straining removes bits of cooked egg and excess zest, producing a silkier texture ideal for fillings, spreads, and glazes.
- → Can I scale the quantities?
-
Yes—scale evenly and monitor cooking time, as larger batches may take longer to thicken. Use a wide heatproof bowl for even heat distribution.