 Save
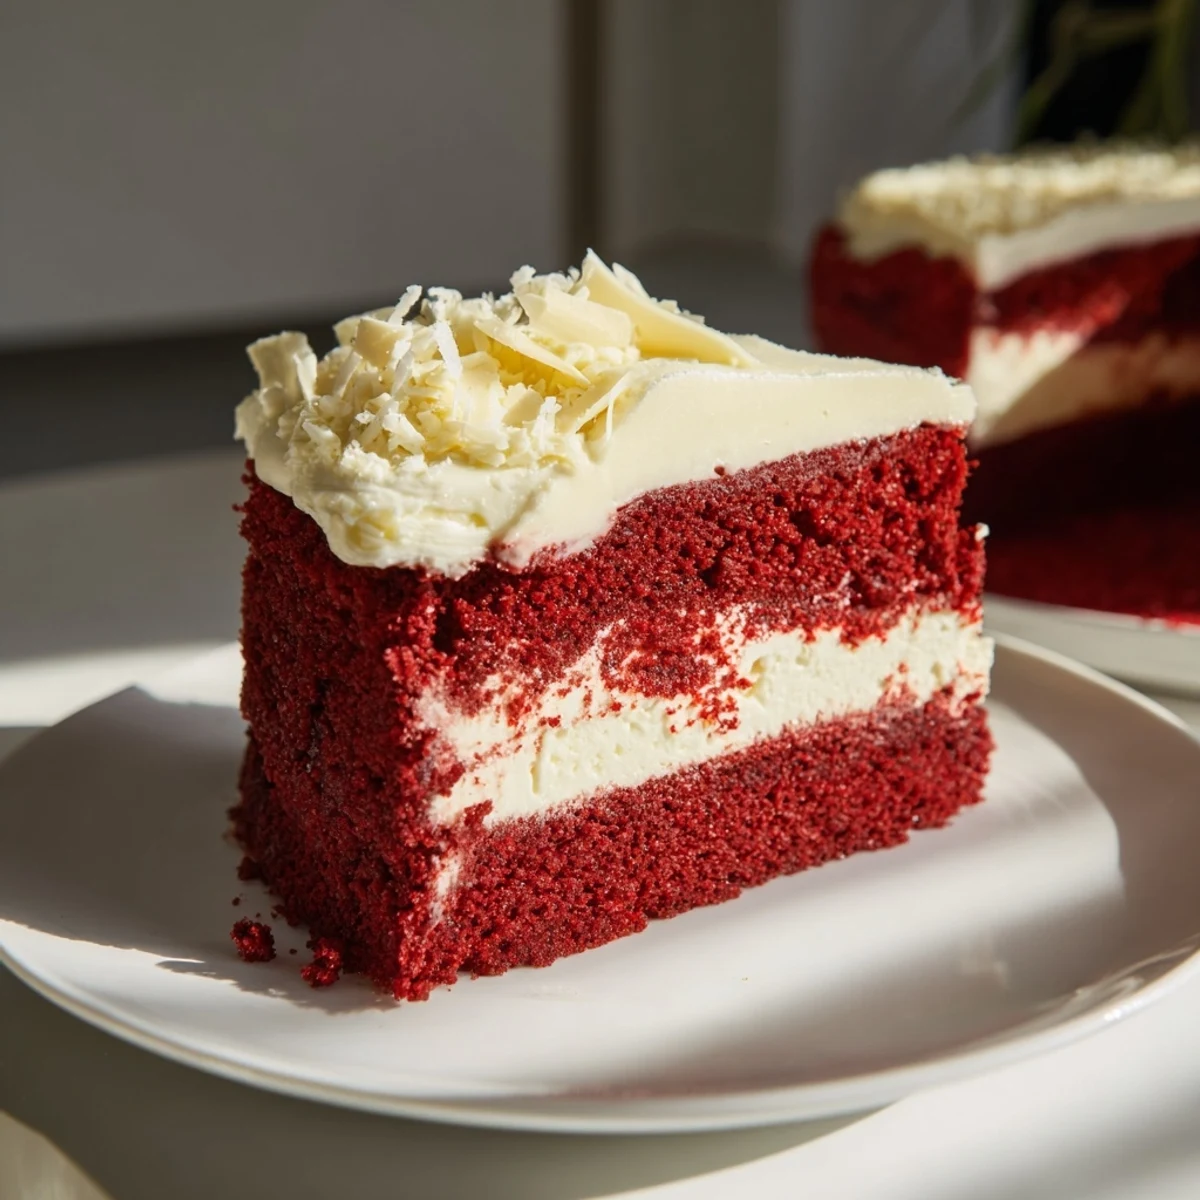
Save This dessert features a luscious red velvet base topped with a smooth cream cheese layer. The cake layer is lightly baked first, then covered with a rich cream cheese mixture and baked again to a perfect, slightly wobbly finish. Chilling ensures a firm yet creamy texture, enhanced optionally with a silky cream cheese frosting. Ideal as an impressive centerpiece for celebratory gatherings, it pairs wonderfully with coffee or dessert wine.
The first time I attempted this red velvet cheesecake, I was nervous about combining two such different desserts into one pan. My kitchen smelled like chocolate and vanilla while it baked, and when I finally served it at dinner that night, my friends couldn't stop talking about the contrast between the velvety cake layer and the rich cheesecake on top. Now it's my go-to dessert when I want something that looks impressive but tastes even better.
Last Christmas, my sister-in-law asked me to bring dessert for our family gathering. I showed up with this cheesecake still slightly chilled from the refrigerator, and my nephew literally gasped when I sliced into it revealing those gorgeous red and cream layers. It's become a tradition now, and honestly, I look forward to that moment of cutting into it as much as eating it.
Ingredients
- All-purpose flour: The foundation for both the cake layer and stability in the cheesecake
- Granulated sugar: Sweetens both layers without overpowering the delicate flavors
- Vegetable oil: Keeps the red velvet layer incredibly moist and tender
- Buttermilk: Adds tanginess and tenderizes the cake crumb beautifully
- Eggs: Room temperature eggs incorporate better and create a smoother cheesecake texture
- Unsweetened cocoa powder: Provides that subtle chocolate depth without making it too heavy
- Baking soda: Reacts with the buttermilk and vinegar for the perfect rise
- White vinegar: Activates the baking soda and enhances the red color
- Vanilla extract: Pure vanilla makes both layers taste like they came from a bakery
- Salt: Balances the sweetness and intensifies all the other flavors
- Red food coloring: Gel coloring gives you that vibrant ruby hue without altering the texture
- Cream cheese: Use full-fat brick cheese softened to room temperature for the silkiest results
- Sour cream: Adds tang and helps prevent the cheesecake from cracking
Instructions
- Preheat and prepare your pan:
- Set your oven to 325°F and grease a 9-inch springform pan thoroughly, lining the bottom with parchment paper so nothing sticks later.
- Mix the dry ingredients:
- Whisk together the flour, cocoa powder, baking soda, and salt in a medium bowl until they're completely blended.
- Combine the wet cake ingredients:
- Beat the sugar, oil, and egg until the mixture lightens in color, then mix in the buttermilk, vinegar, vanilla, and that gorgeous red food coloring until everything is uniform.
- Make the red velvet batter:
- Gently fold the dry ingredients into the wet mixture just until combined, then pour the batter into your prepared pan and spread it into an even layer.
- Par-bake the cake layer:
- Bake for 15 minutes until it's set but still slightly underdone in the center, then remove it from the oven while you make the cheesecake layer.
- Beat the cream cheese mixture:
- In a large bowl, beat the softened cream cheese and sugar until completely smooth and creamy with no lumps remaining.
- Add the eggs and flavorings:
- Add the eggs one at a time, beating well after each one, then mix in the sour cream, vanilla, and flour just until everything is incorporated.
- Layer the cheesecake batter:
- Carefully pour the cheesecake mixture over the partially baked red velvet layer and smooth the top with a spatula.
- Bake until set:
- Bake for about 1 hour and 5 minutes until the center is just set and slightly wobbly when you gently shake the pan.
- Cool gradually:
- Turn off the oven, crack the door open, and let the cheesecake cool inside for an hour, which prevents those dreaded cracks from forming.
- Chill thoroughly:
- Remove from the oven, cool completely to room temperature, then refrigerate for at least 6 hours or overnight for the best texture.
- Make the optional frosting:
- Beat the softened cream cheese and butter until fluffy, then add the powdered sugar and vanilla and beat until completely smooth.
- Finish and serve:
- Release the cheesecake from the springform pan, spread or pipe the frosting on top if using, and slice into beautiful wedges.
 Save
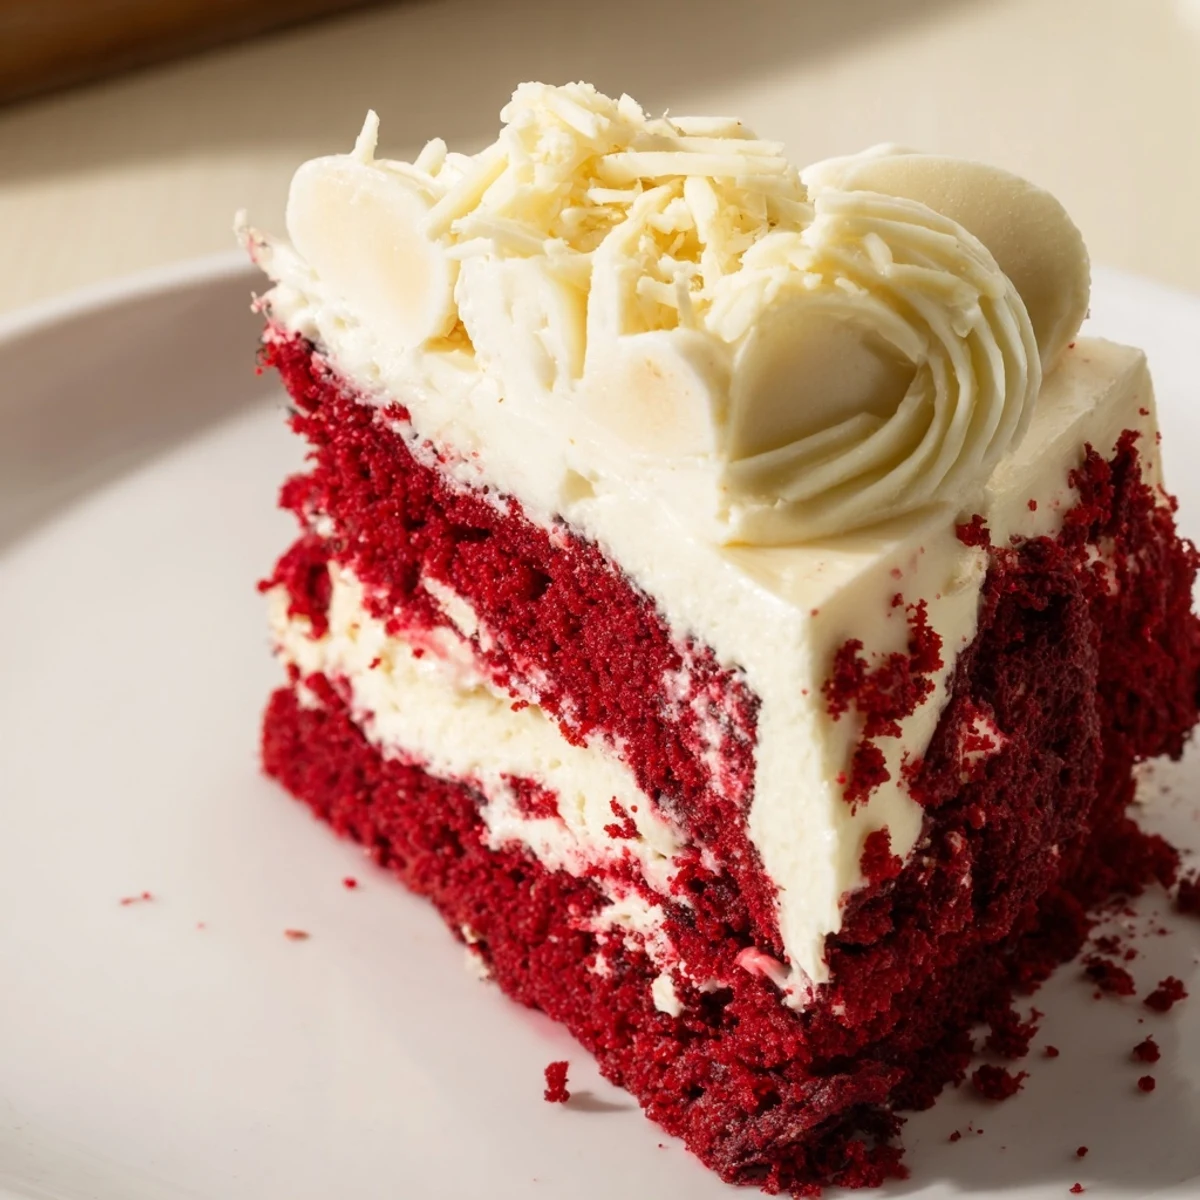
Save There's something deeply satisfying about slicing through those two distinct layers and seeing that perfect red and cream contrast on the plate. Every time I make it for someone new, they always pause to admire it before taking that first bite, and that moment of appreciation is exactly why I love baking.
Making It Ahead
This cheesecake actually tastes better after it's been refrigerated overnight, giving the flavors time to meld together. You can freeze it whole or in individual slices wrapped tightly in plastic and foil for up to 3 months.
Getting That Perfect Color
Gel food coloring is worth seeking out because it won't water down your batter like liquid coloring can. Start with a small amount and add more until you reach that vibrant ruby red that makes this dessert so stunning.
Serving Suggestions
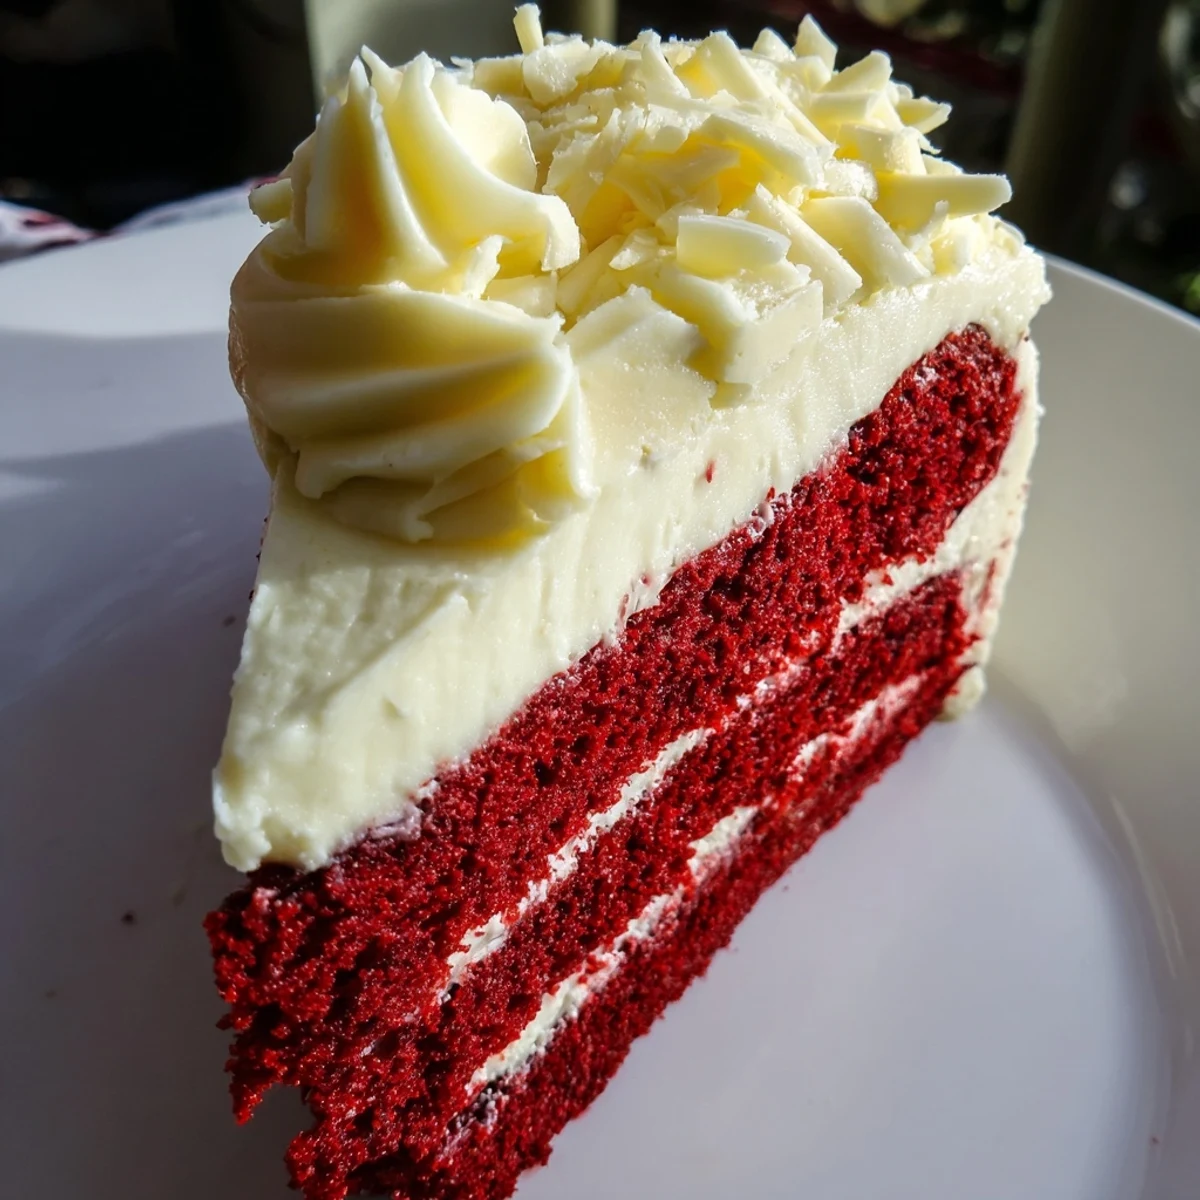
I love serving this with fresh raspberries or strawberries on the side, their tartness cutting through the richness. A dusting of cocoa powder or white chocolate shavings on top makes it look like it came from a fancy bakery.
- Let slices sit at room temperature for 15 minutes before serving
- Use a hot knife wiped clean between cuts for perfect slices
- Any leftovers keep well in the refrigerator for up to 5 days
 Save
Save Whether you're making it for a special occasion or just because you deserve something beautiful, this red velvet cheesecake has a way of making any moment feel like a celebration worth savoring.
Recipe FAQs
- → How do I achieve the perfect texture for the cheesecake layer?
-
Beat cream cheese and sugar until smooth before adding eggs and sour cream gently to avoid overmixing, then bake until just set for a creamy, tender texture.
- → Can I prepare this dessert ahead of time?
-
Yes, chilling it for at least 6 hours or overnight helps the layers set well and enhances the flavors.
- → What baking pan is recommended?
-
A 9-inch springform pan is ideal to easily release the dessert without damaging the layers.
- → Is the cream cheese frosting necessary?
-
The frosting adds extra richness and smoothness but can be omitted if preferred for a simpler finish.
- → How can I make the red color more vibrant?
-
Use gel-based red food coloring for a richer, more vivid hue without altering batter consistency.